Creating a Promo Campaign
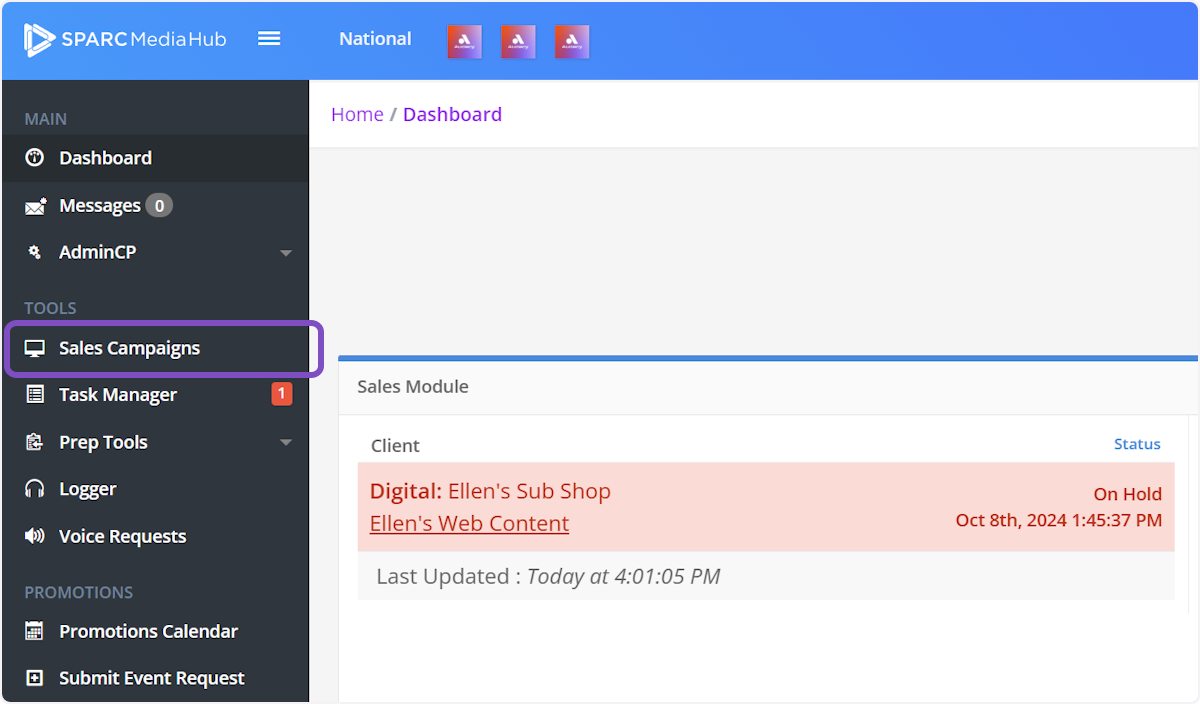
1. Click on Sales Campaigns in the left-hand menu
2. This will take you to your Sales Campaigns Dashboard
On this screen, you can see the status, progress and make changes to your existing Sales Campaigns
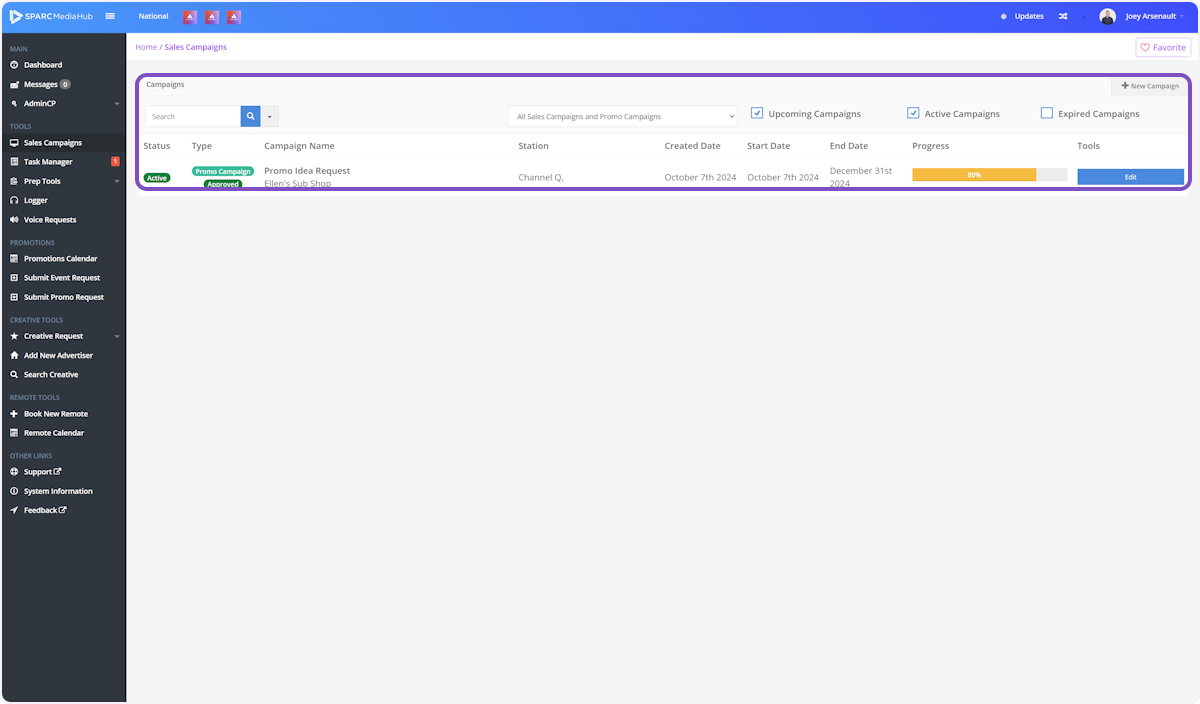
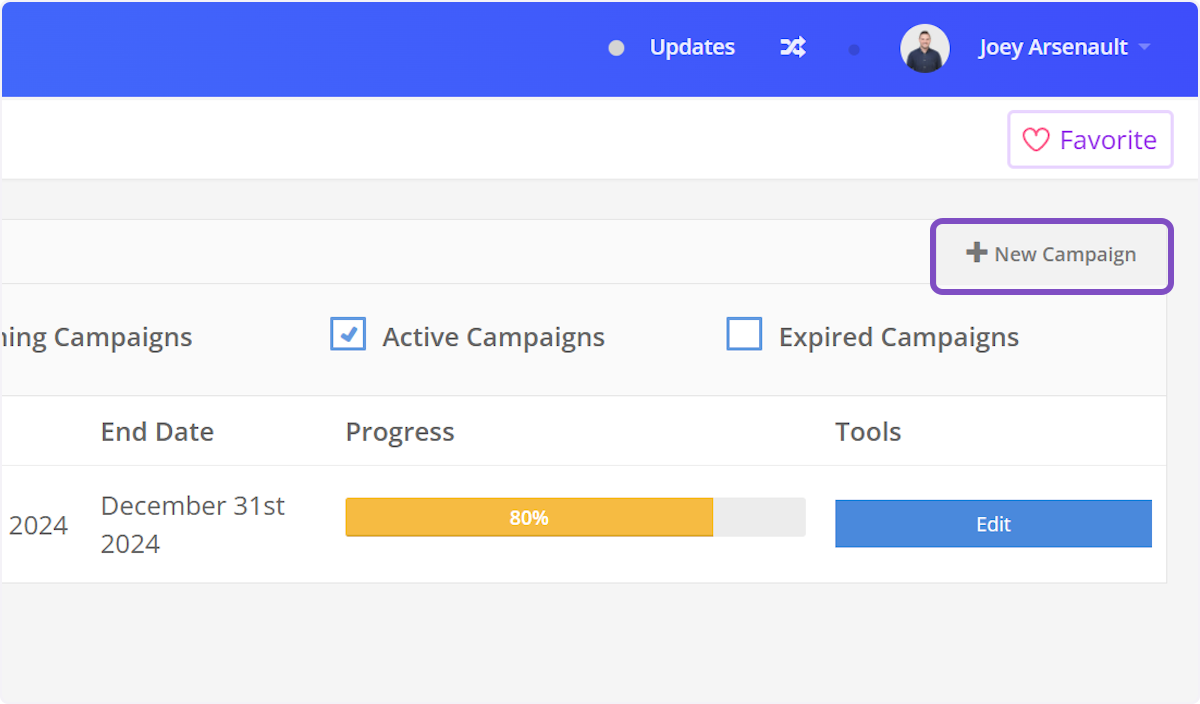
3. To create a new campaign, click on New Campaign in the top right-hand corner
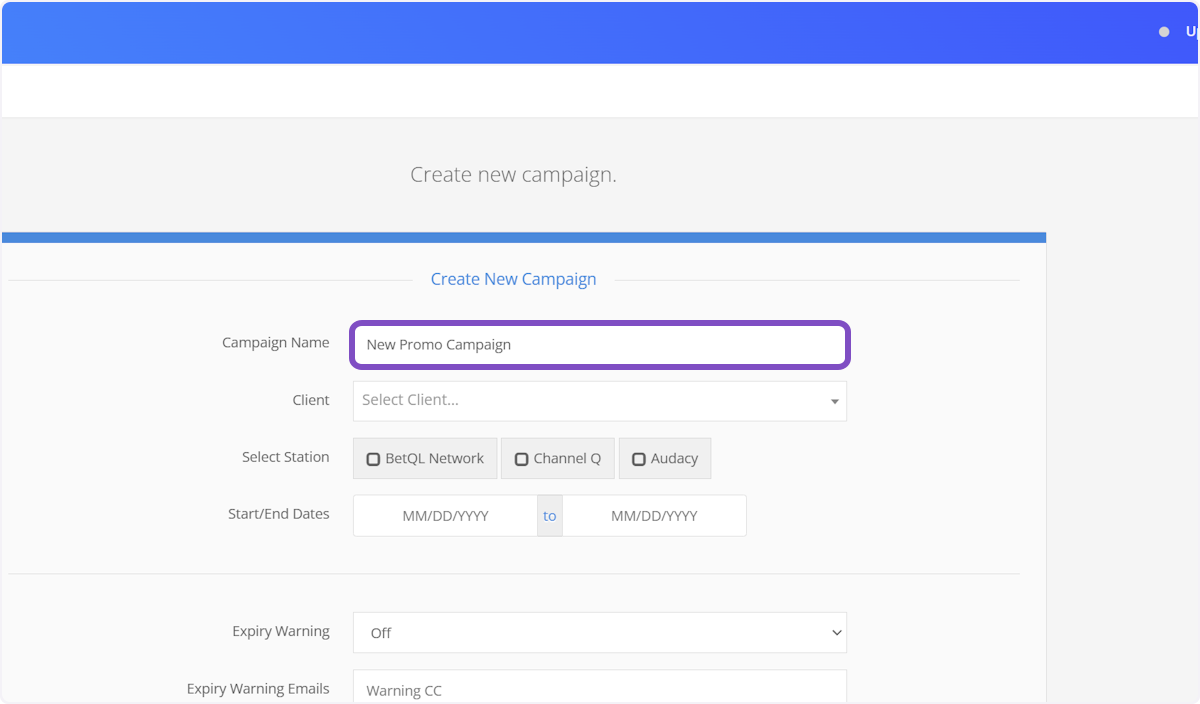
4. Give your campaign a name
This can be anything you'd like. It is used to help identify the campaign later
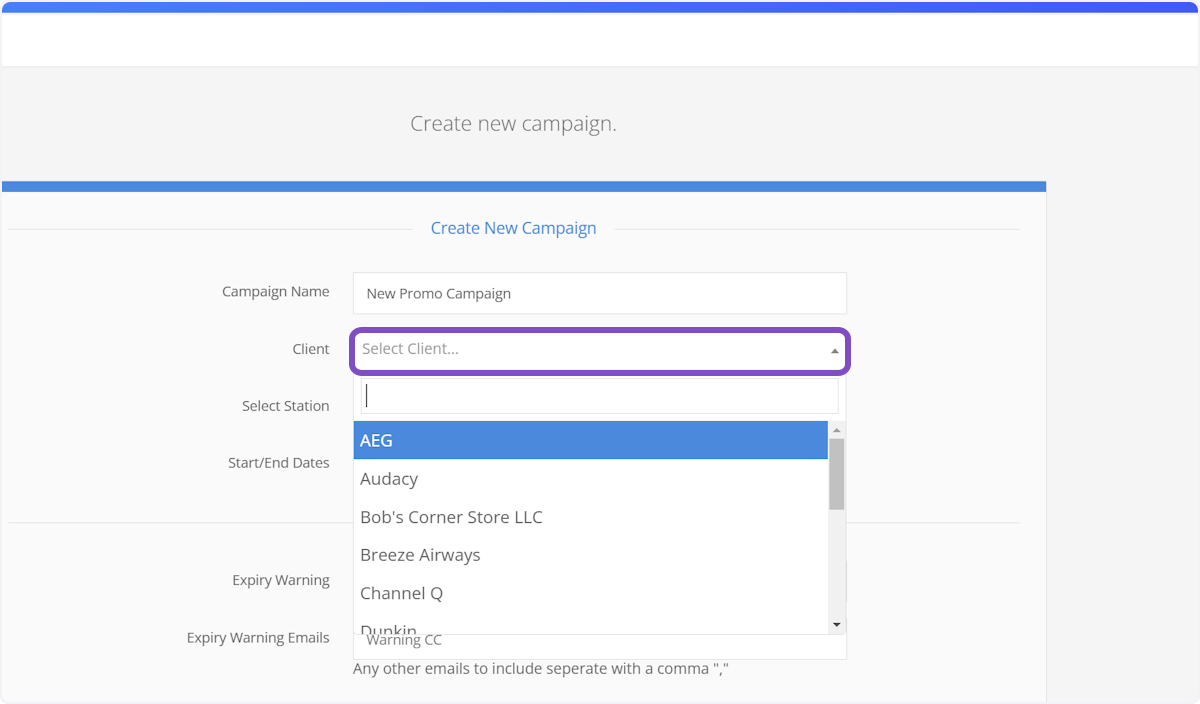
5. Select a client from the Client dropdown
You can also search this list by beginning to type anywhere in the search bar directly below the words "Select Client"
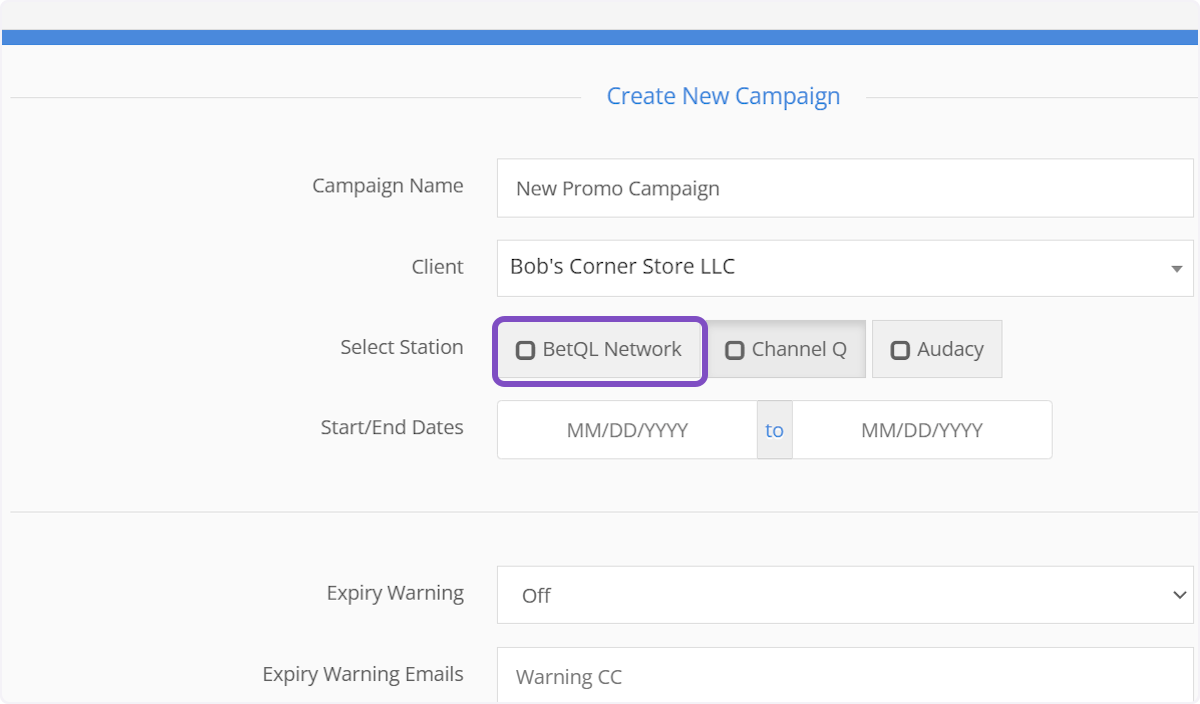
6. Next, select the station(s) for this campaign by clicking on the station(s) name
You can select one or multiple stations
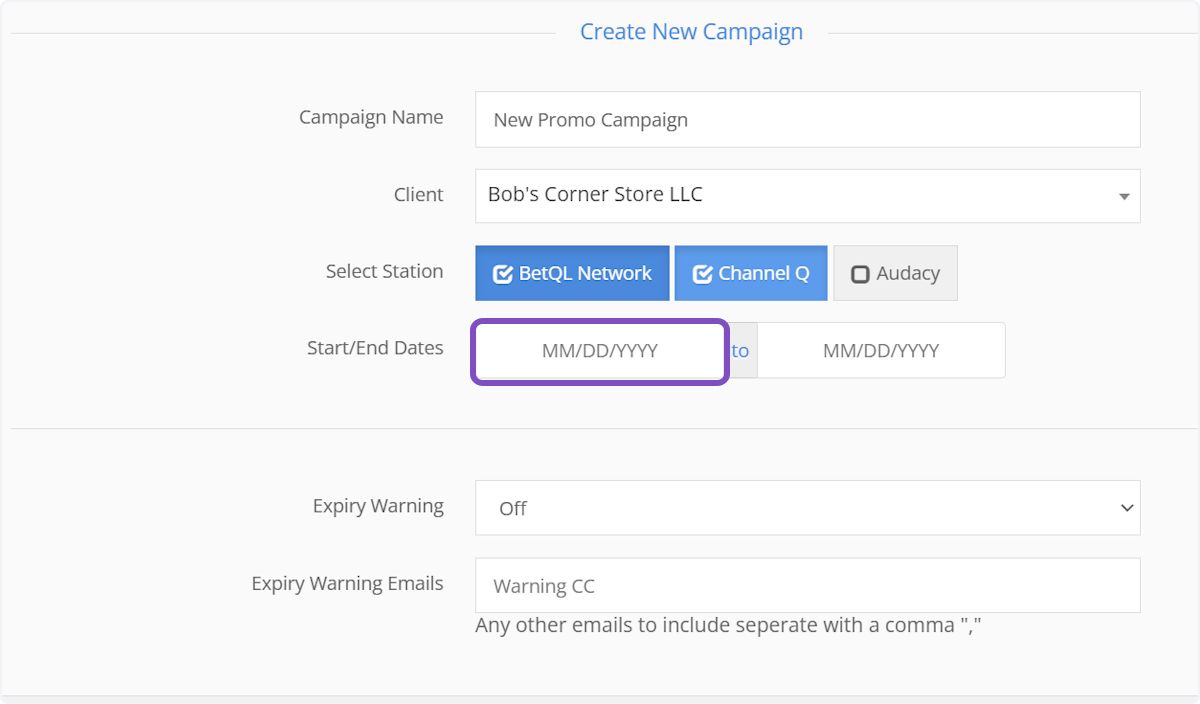
7. To choose a start date for the campaign, click in the first date box next to "Start/End Dates"
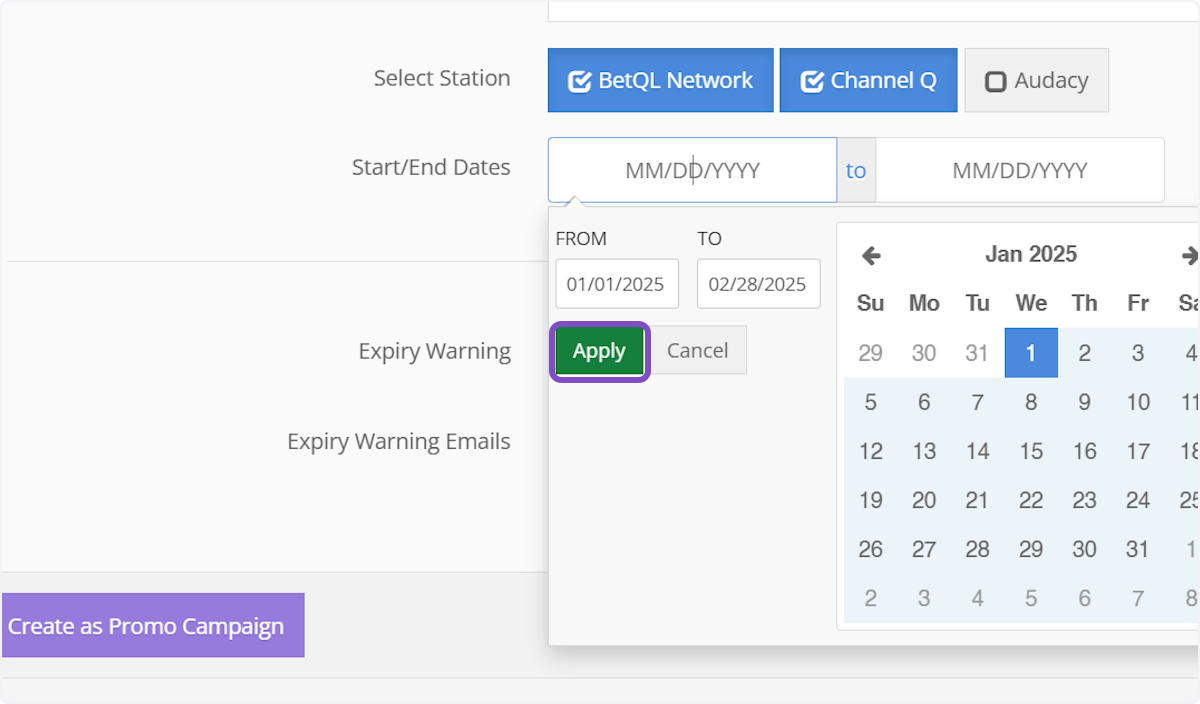
8. Choose your date using the calendar widget
The calendar on the left is for the the start date, the calendar on the right is for the end date
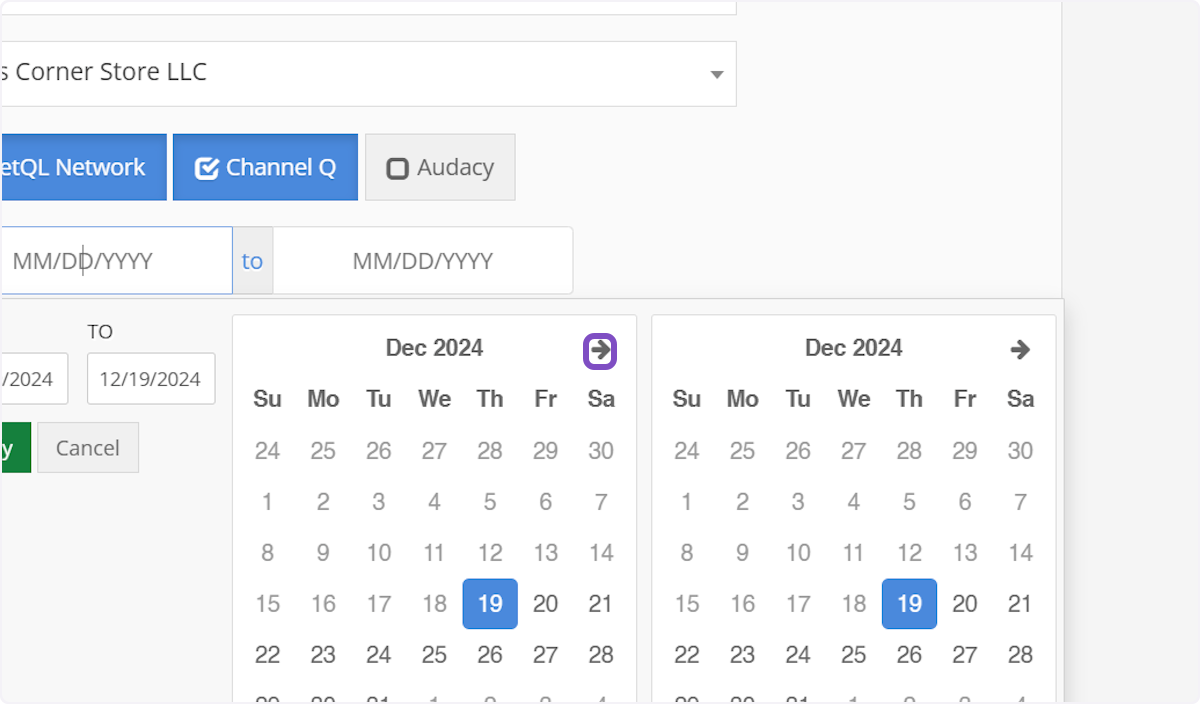
9. Once you've selected your dates, click on Apply
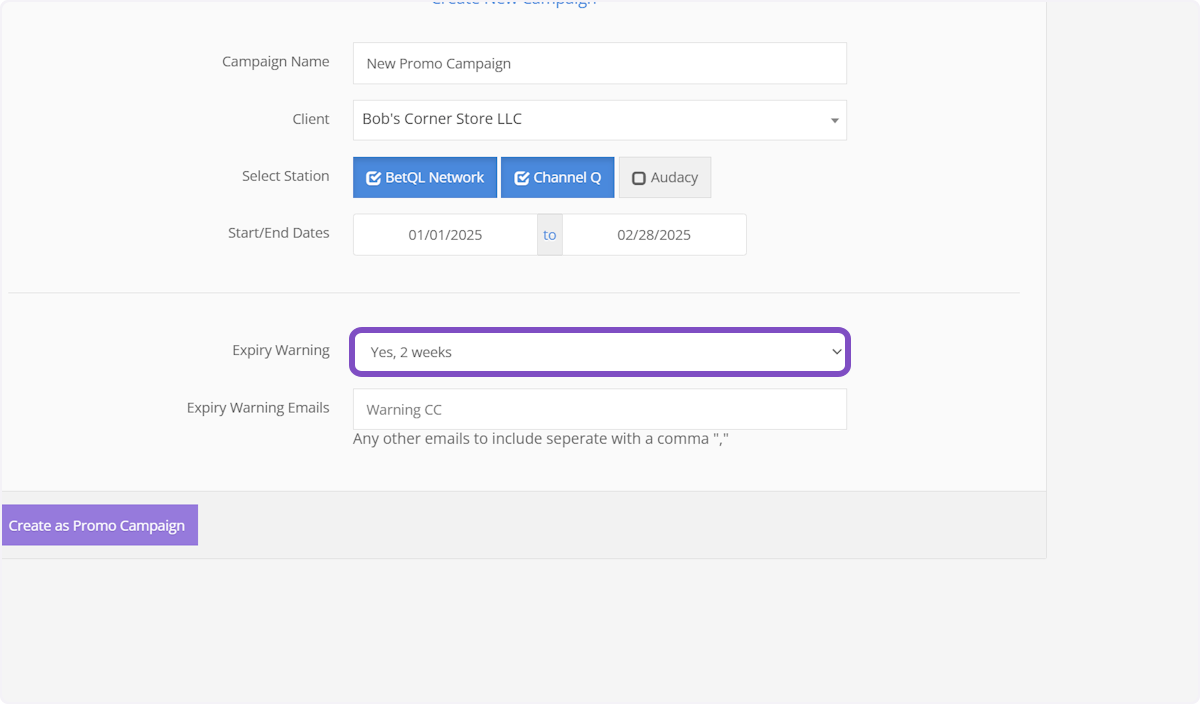
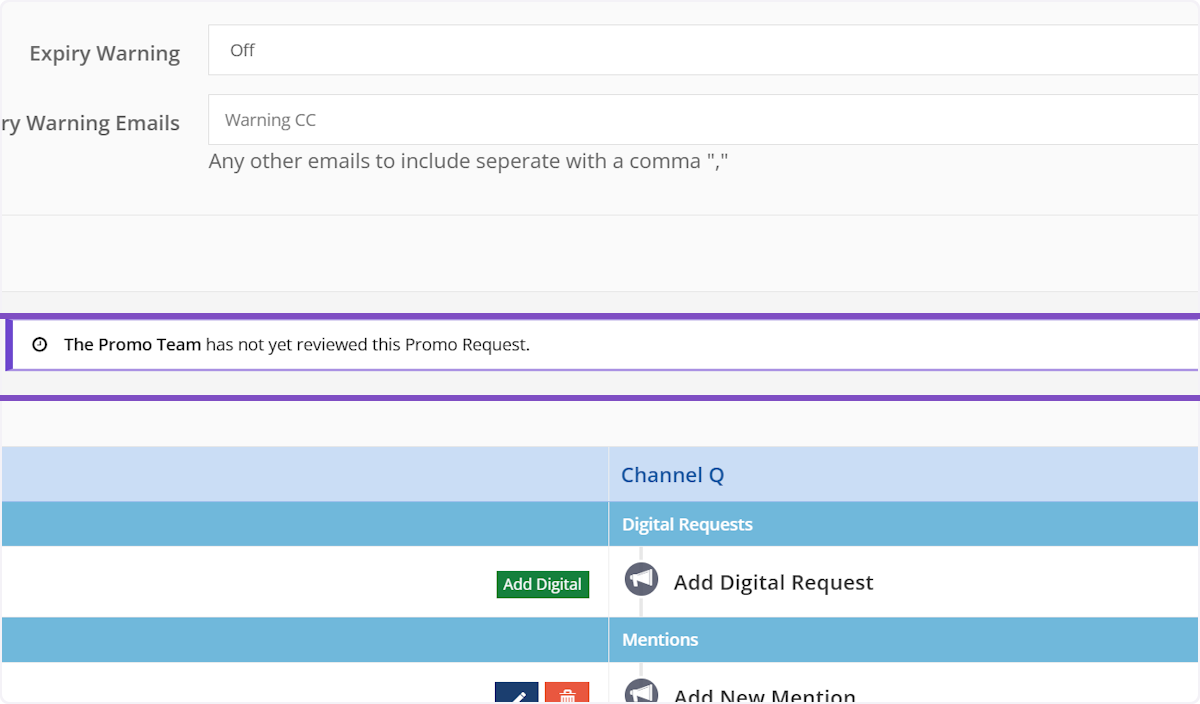
10. The "Expiry Warning" feature is optional. This will tell SPARC to send you a reminder email at the assigned time that this campaign is coming to an end
The time listed is the duration of time before the campaign end that you will receive the email. Ex. "Yes, 2 Weeks" will email you 2 weeks before the campaign end date
11. Be default you will receive the email, but you can add other email addresses to also receive the email
This can be another of your email accounts or a sales assistant.
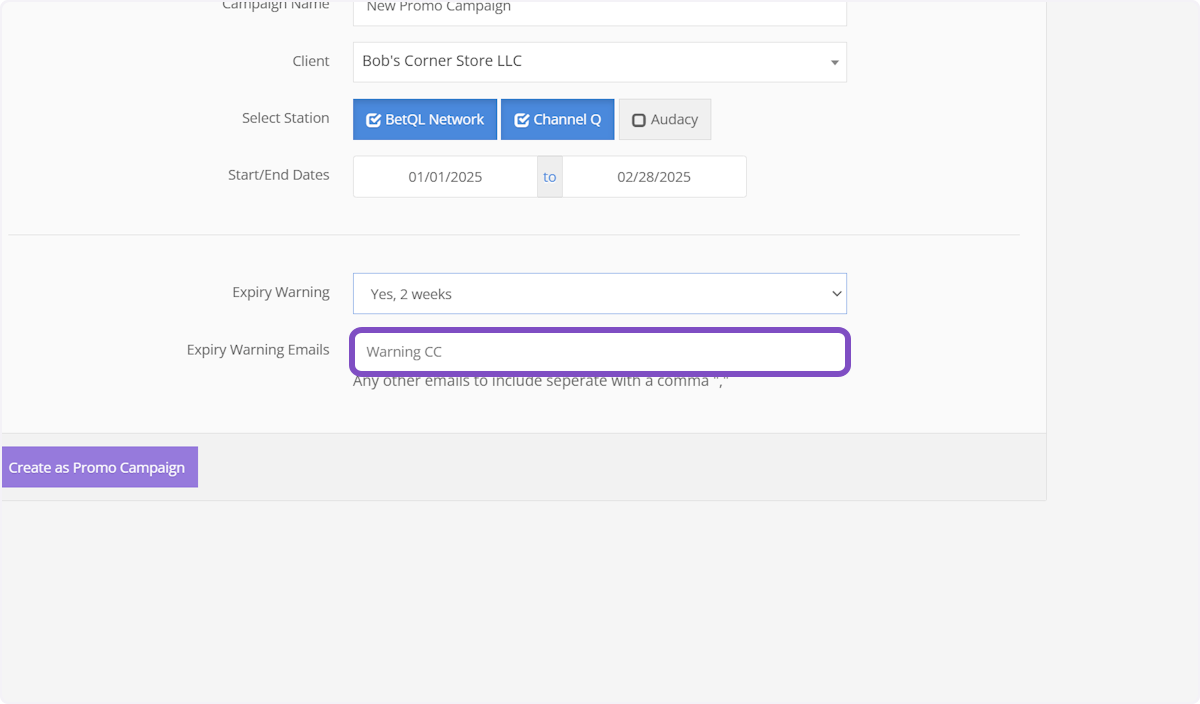
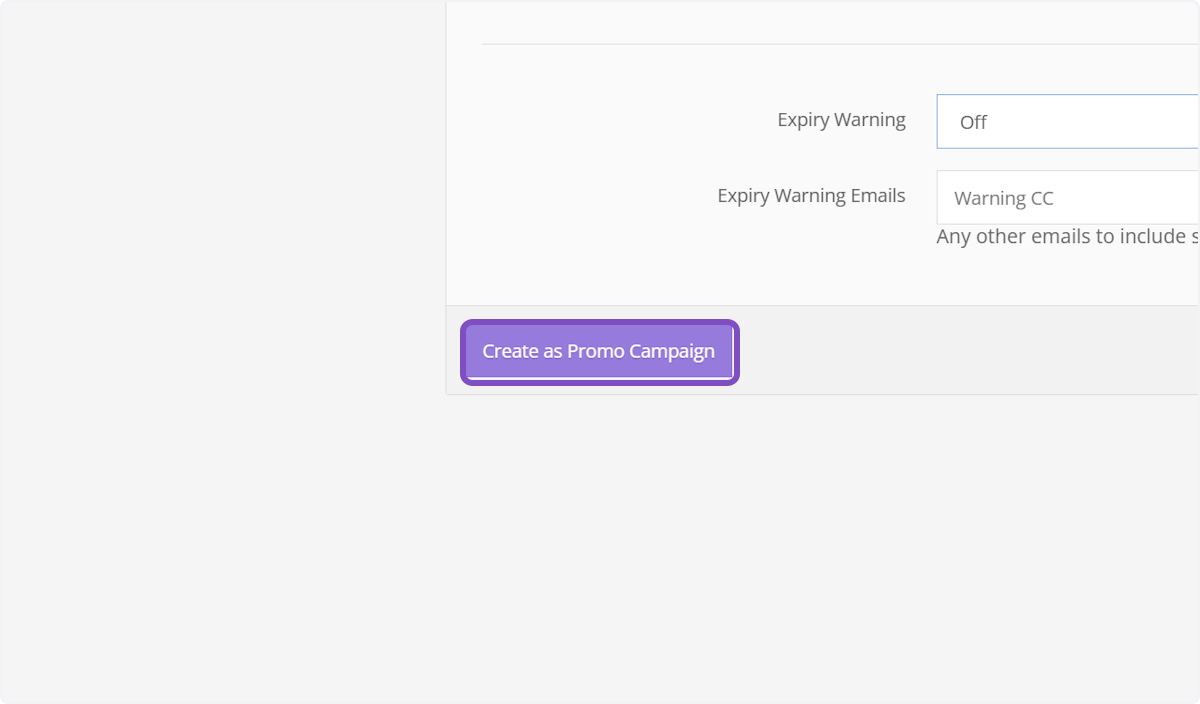
12. Click on Create as Promo Campaign
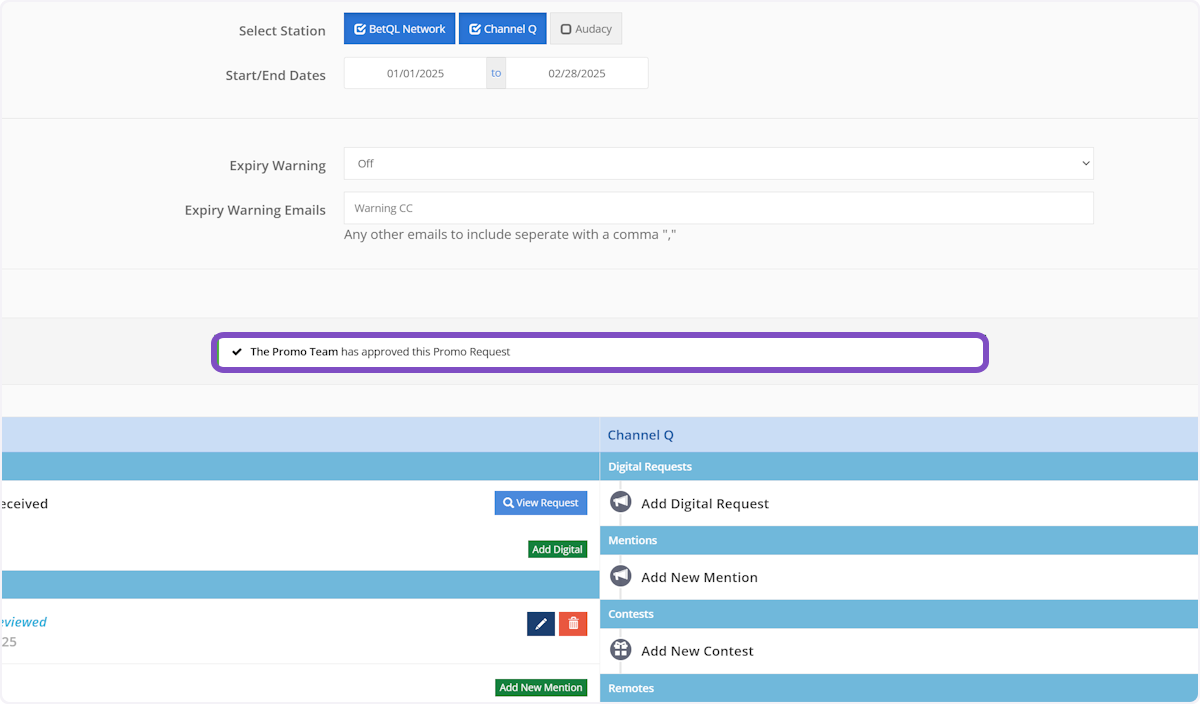
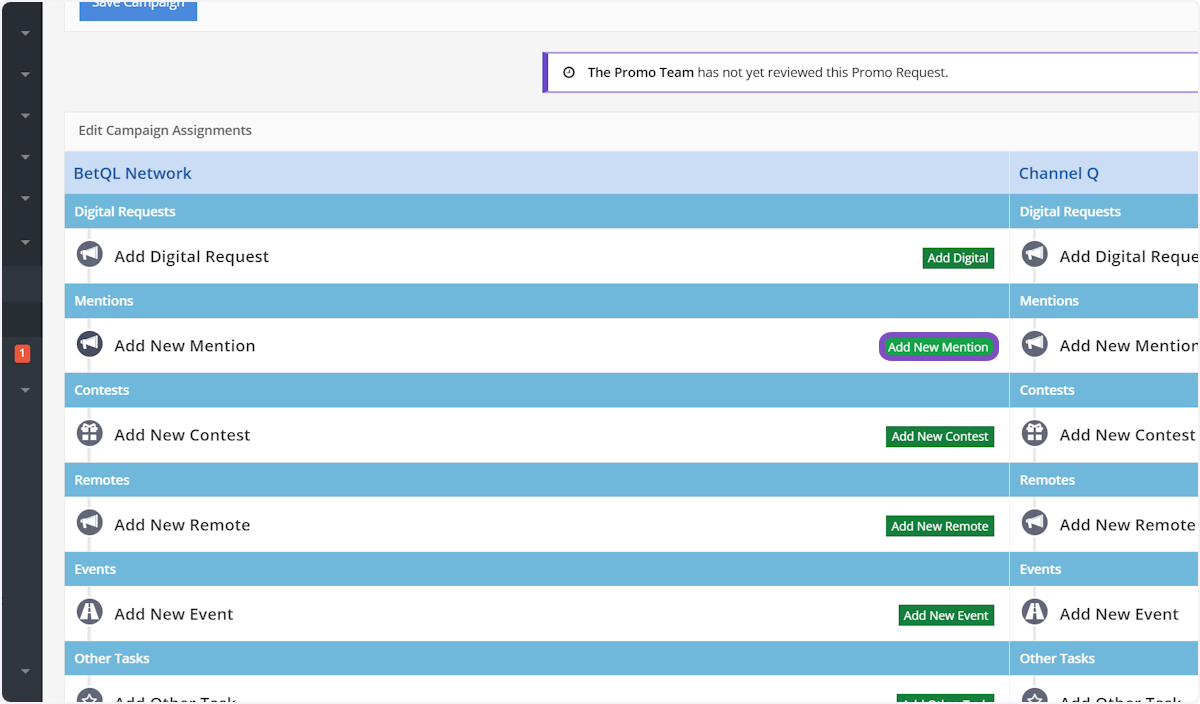
13. The next screen will show everything you can create/submit as part of your campaign
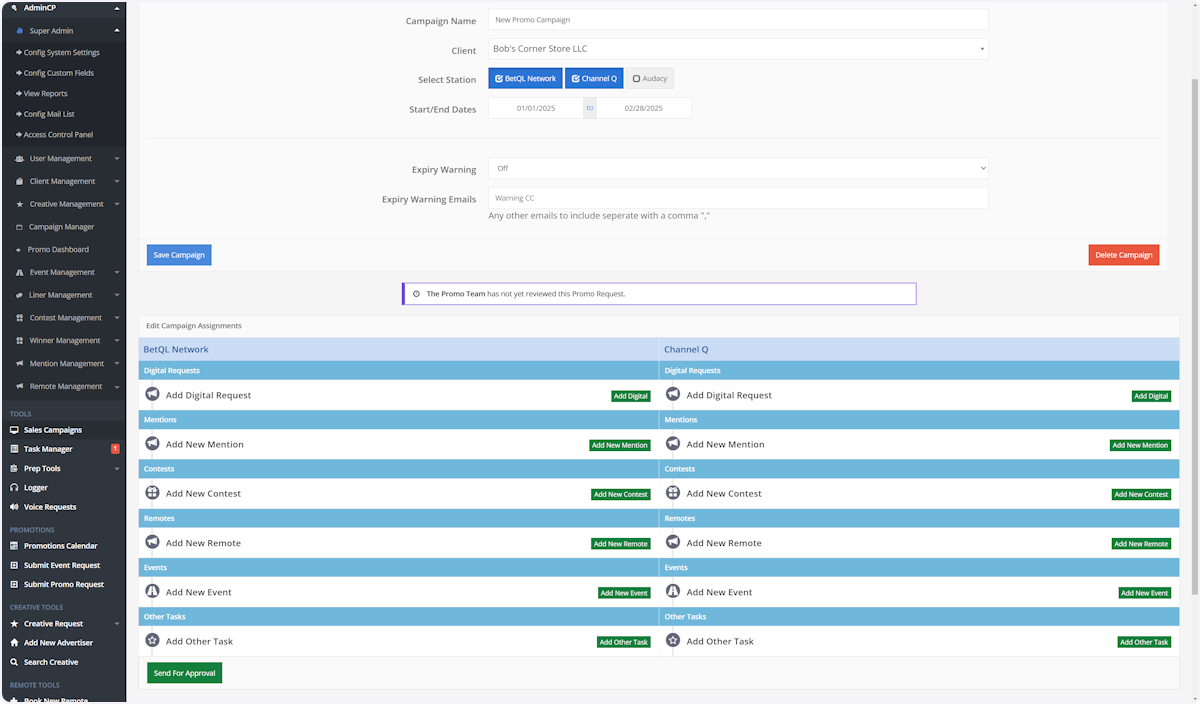
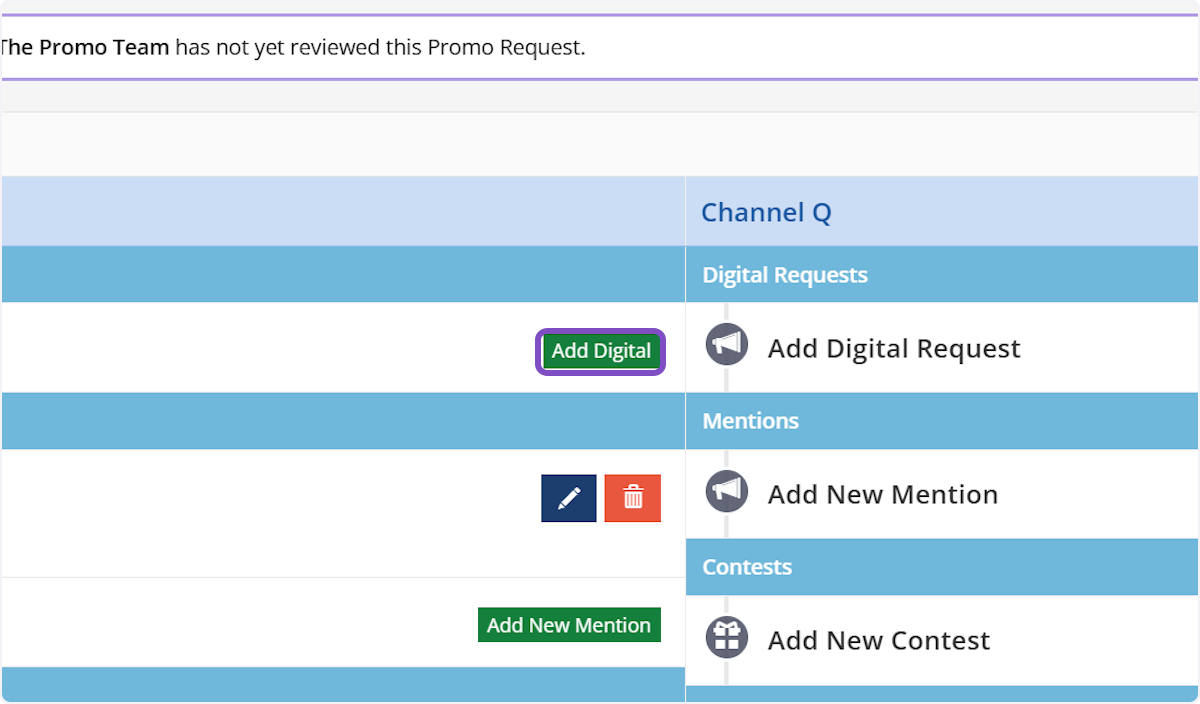
14. We'll start by adding a digital request to our campaign. Click on "Add Digital" within the corresponding station column
15. Select your station(s) of the digital request
You can select one or multiple stations by clicking on the station name
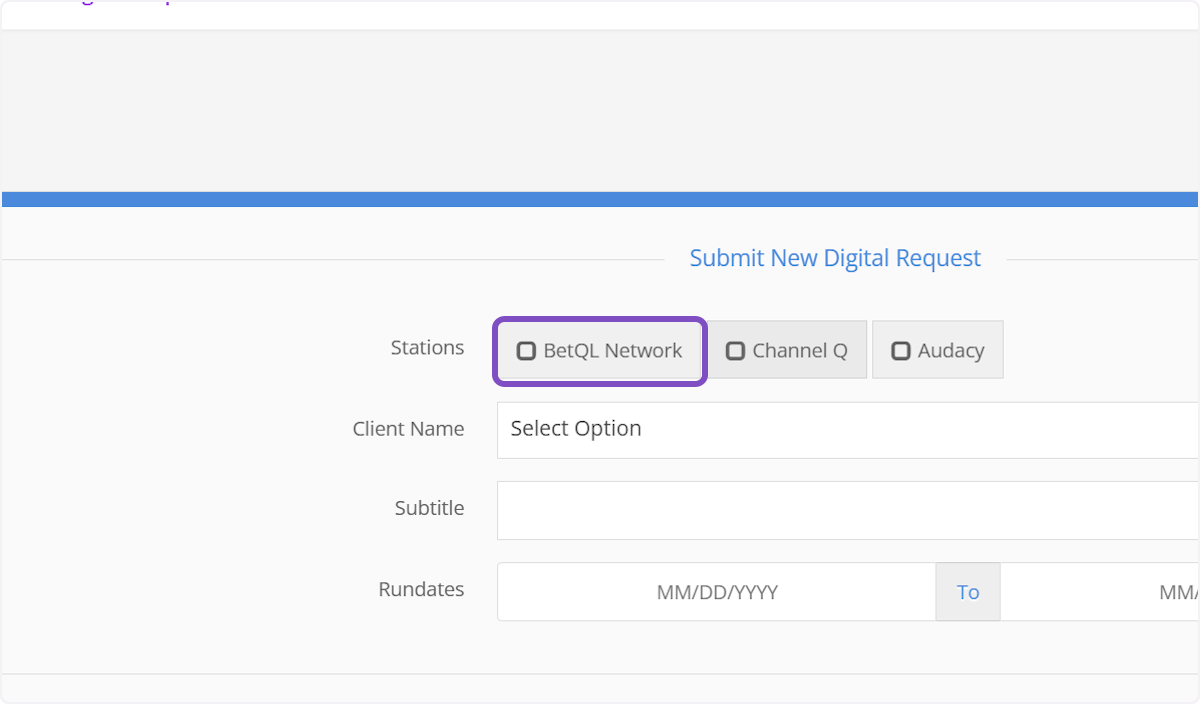
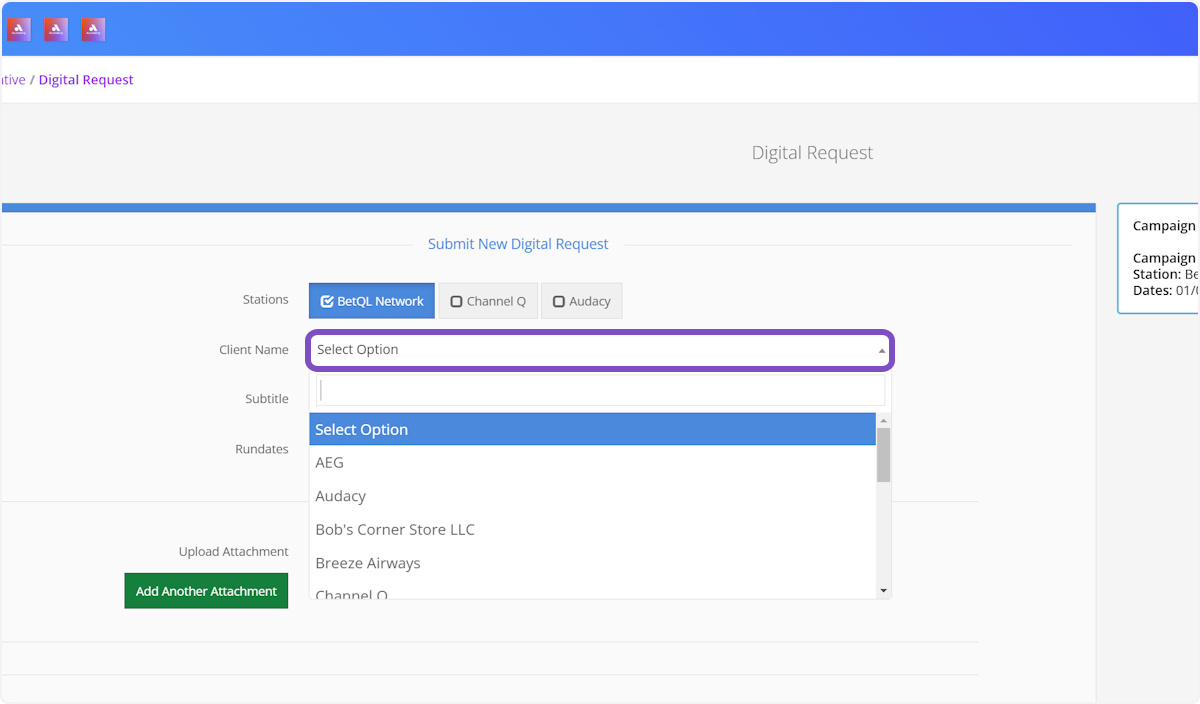
16. Select your client from the "Client Name" dropdown
You can also search this list by beginning to type anywhere in the search bar directly below the words "Select Client"
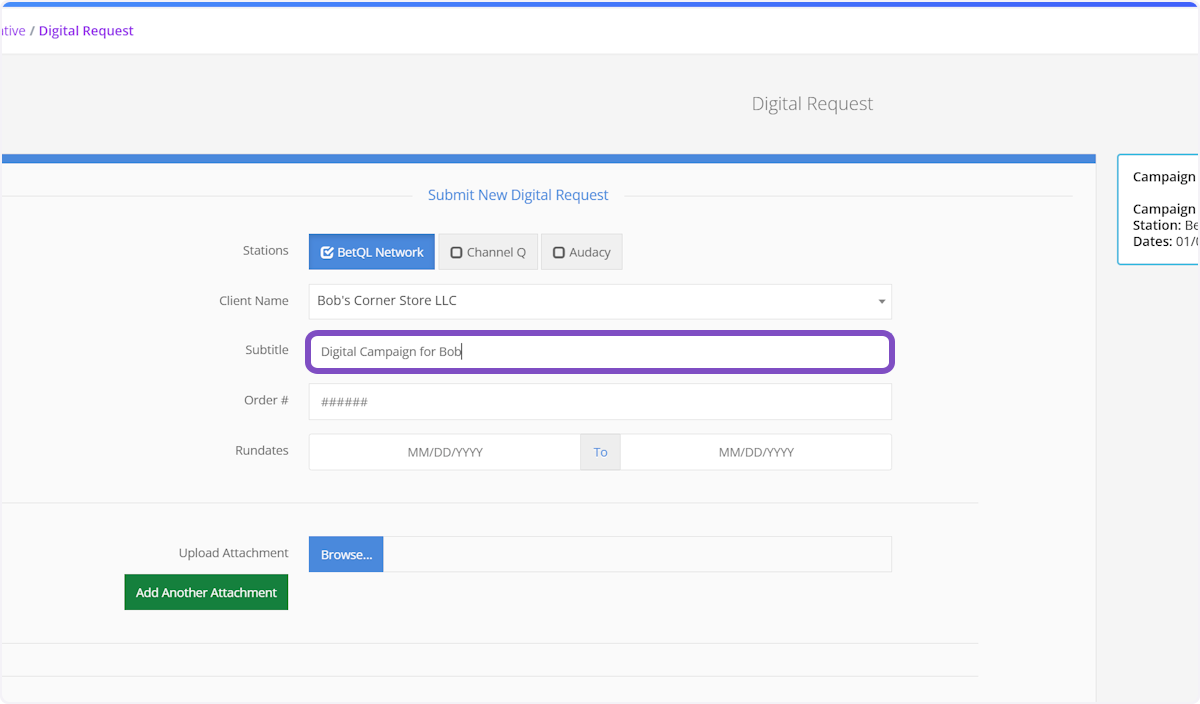
17. Give your digital request a subtitle
This can be anything as long as you and the digital team know what it means
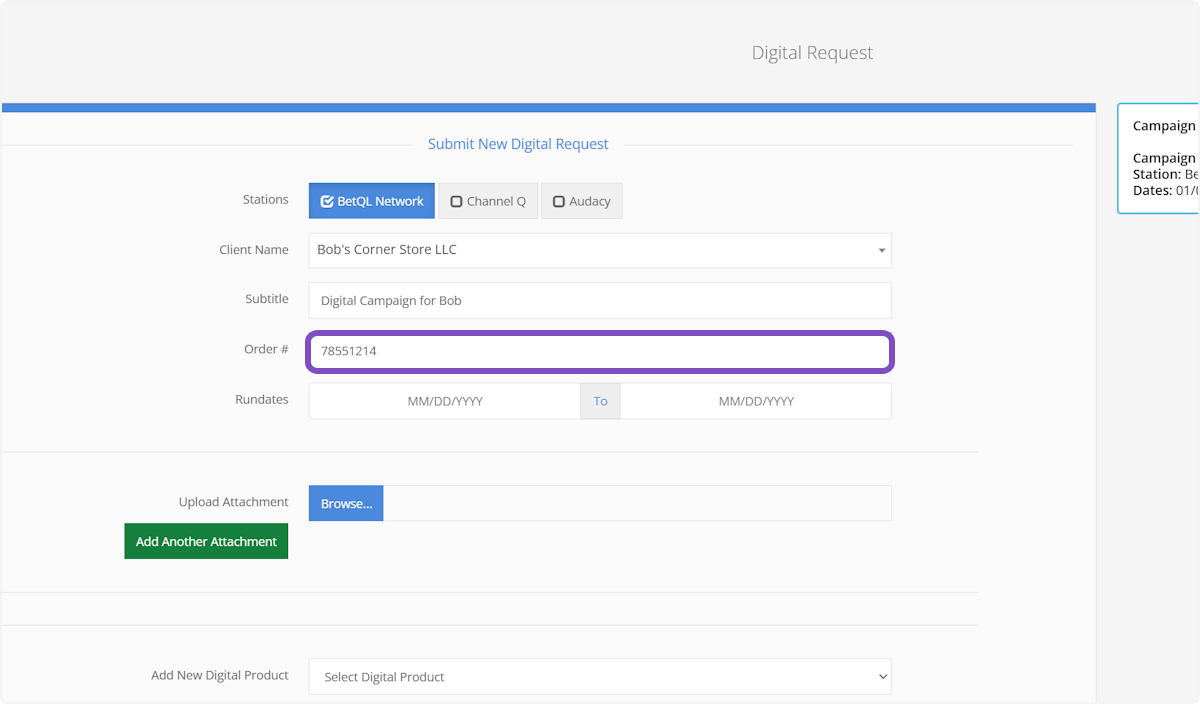
18. Provide the order number from your traffic/billing system
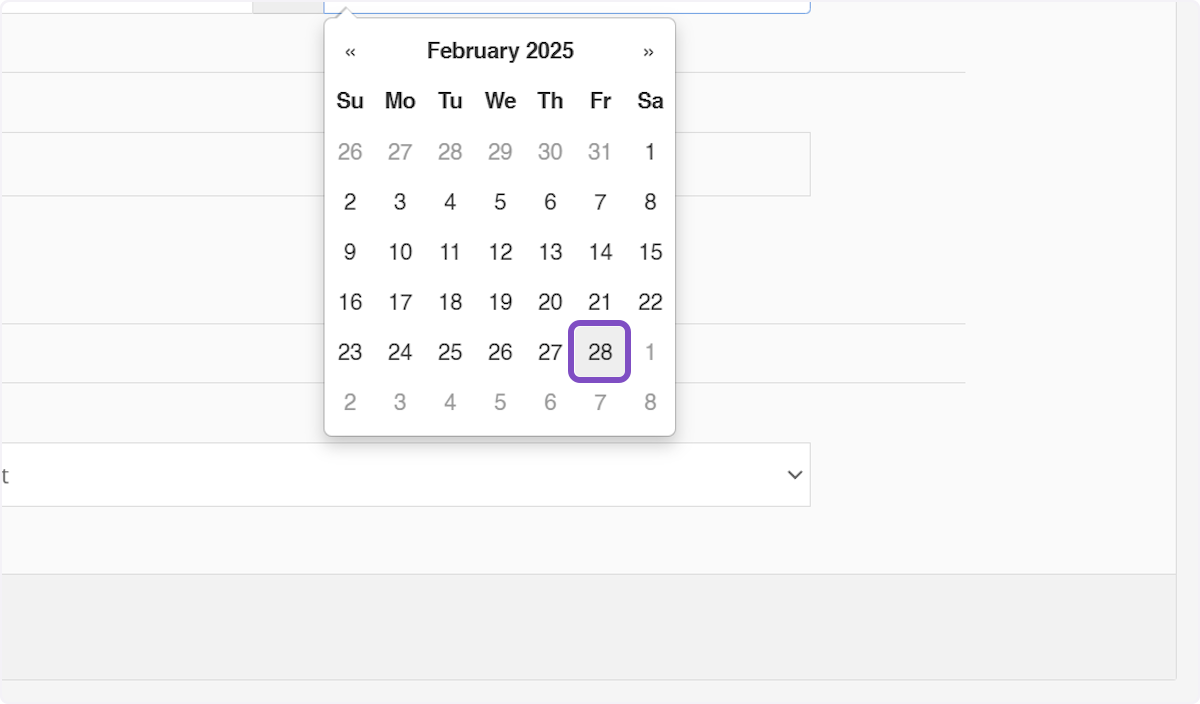
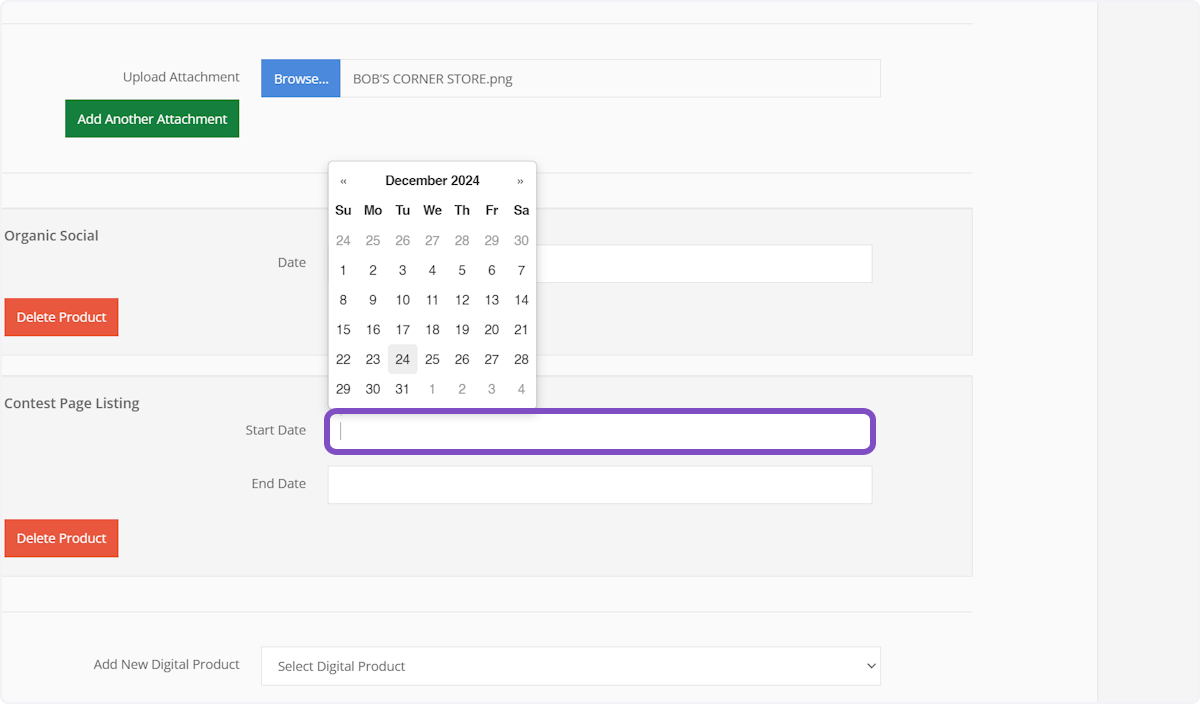
19. Choose your start and end dates for the this digital request
The left-hand field is for your start date

20. The right-hand date field is for your end date
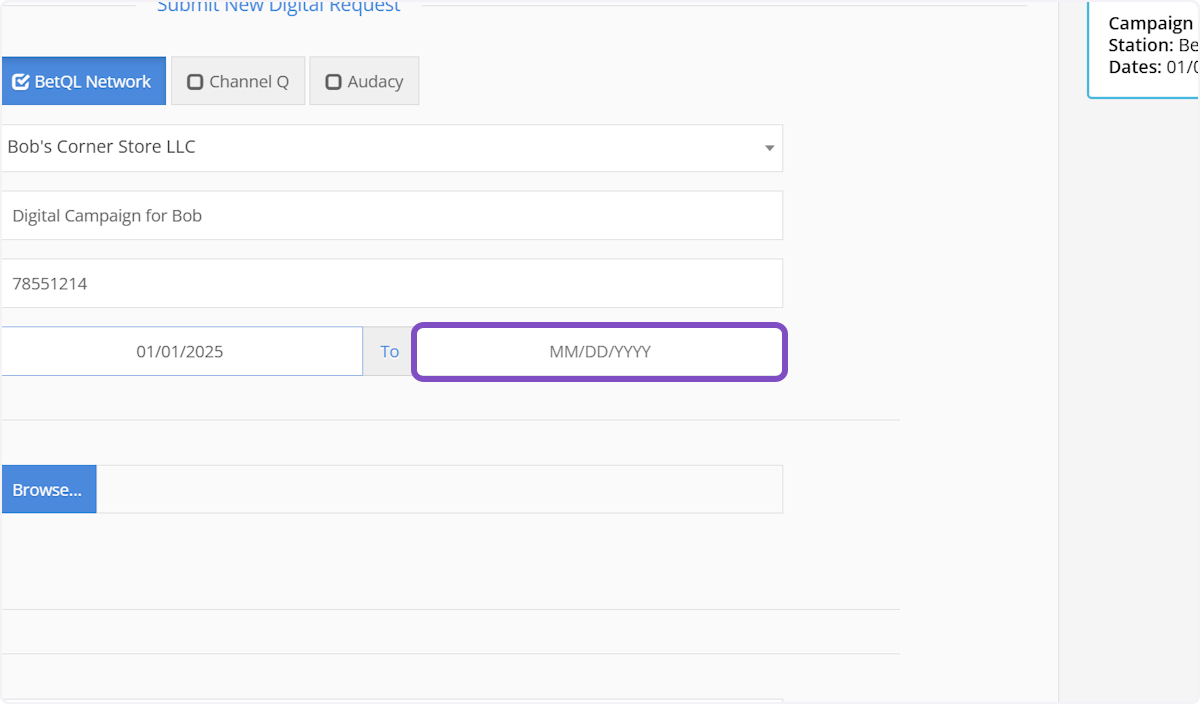
21. Use the calendar widgets to choose your dates
22. You can upload any attachments that is needed for the digital request
This can be assets like a client logo, brand guide, ad concept, etc.
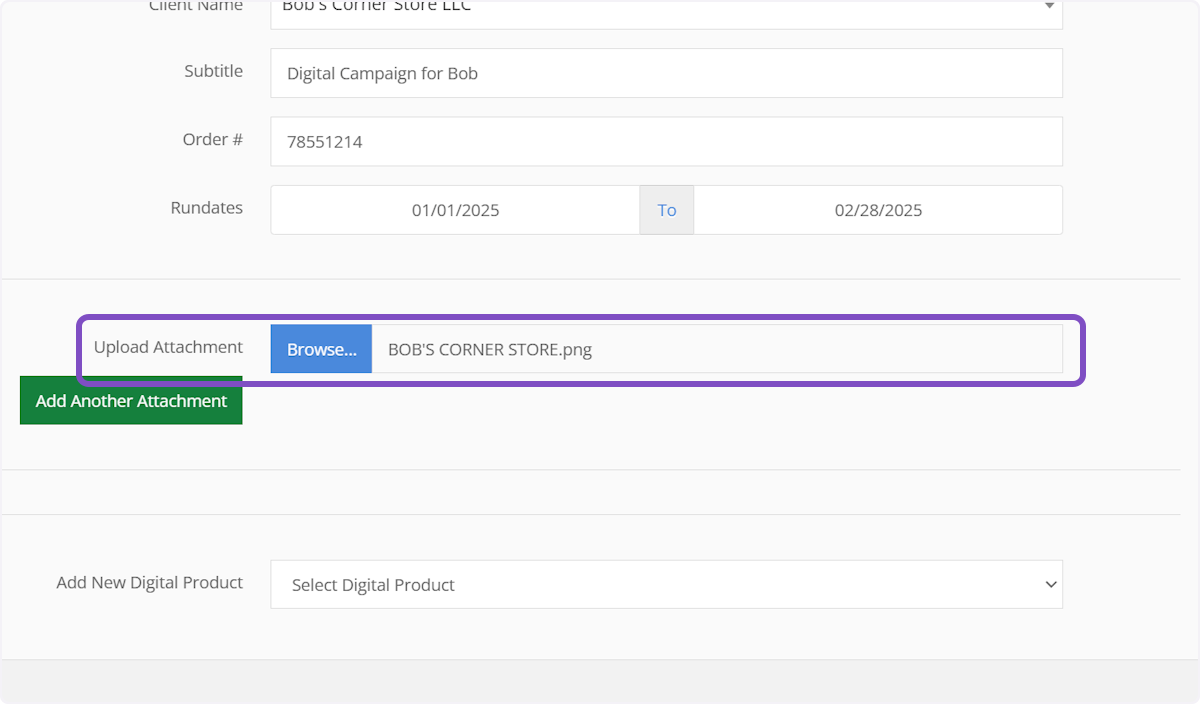
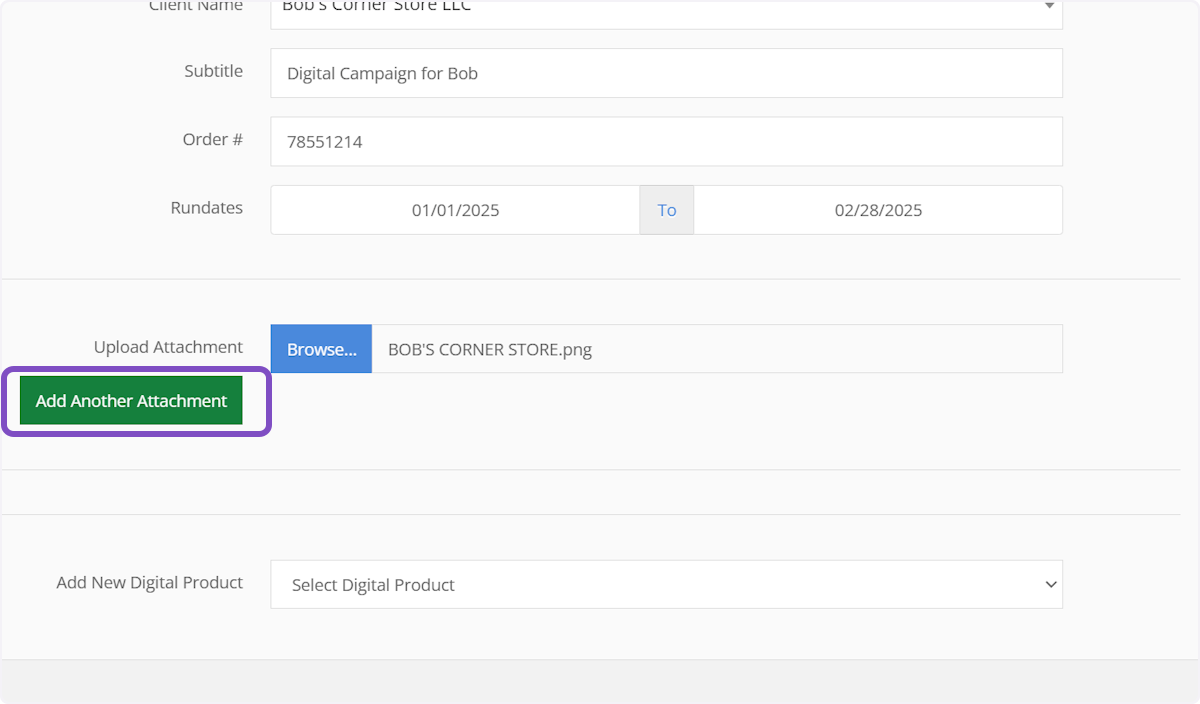
23. If you'd like to add multiple files to this request, click the green "Add Another Attachment" button, then upload your file.
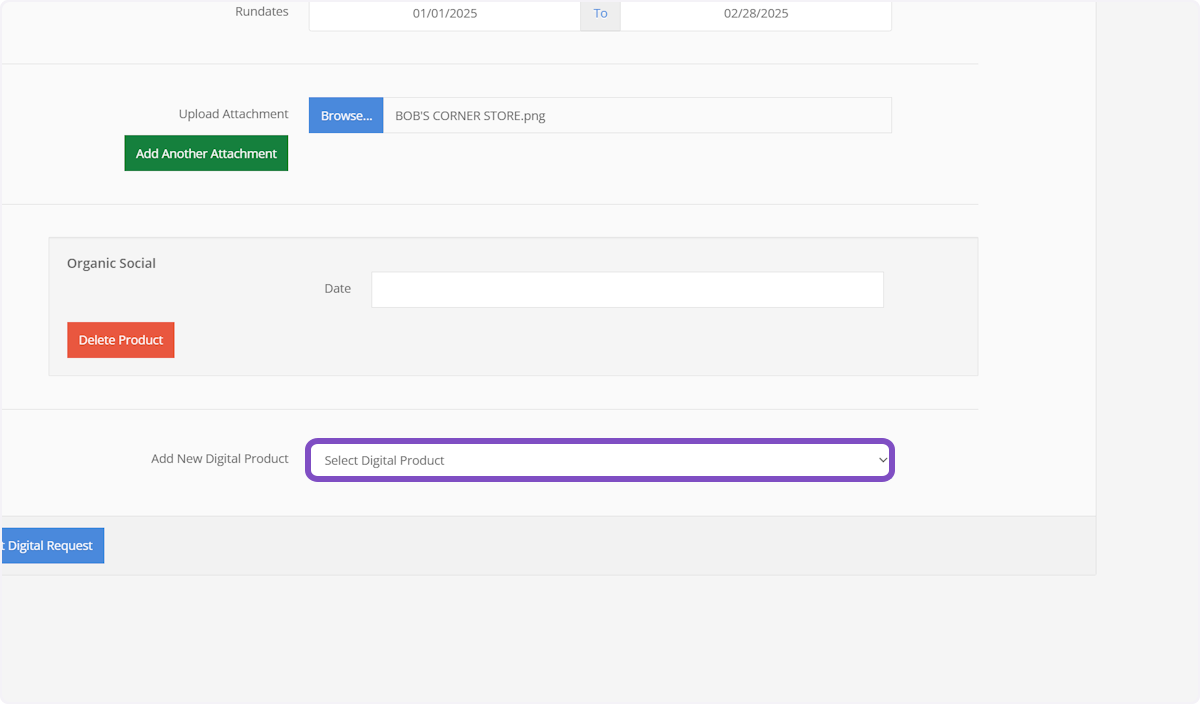
24. Next, we'll select which Digital Product we'd like to include in this request
Use the "Add New Digital Product" dropdown to select a digital product
ℹ️ There are four types of Digital Products for Audacy.
Contest Page listing
Event Page listing
Pin to homepage
Organic Social
25. Provide date(s) for each Digital Products
Some products may only require one date
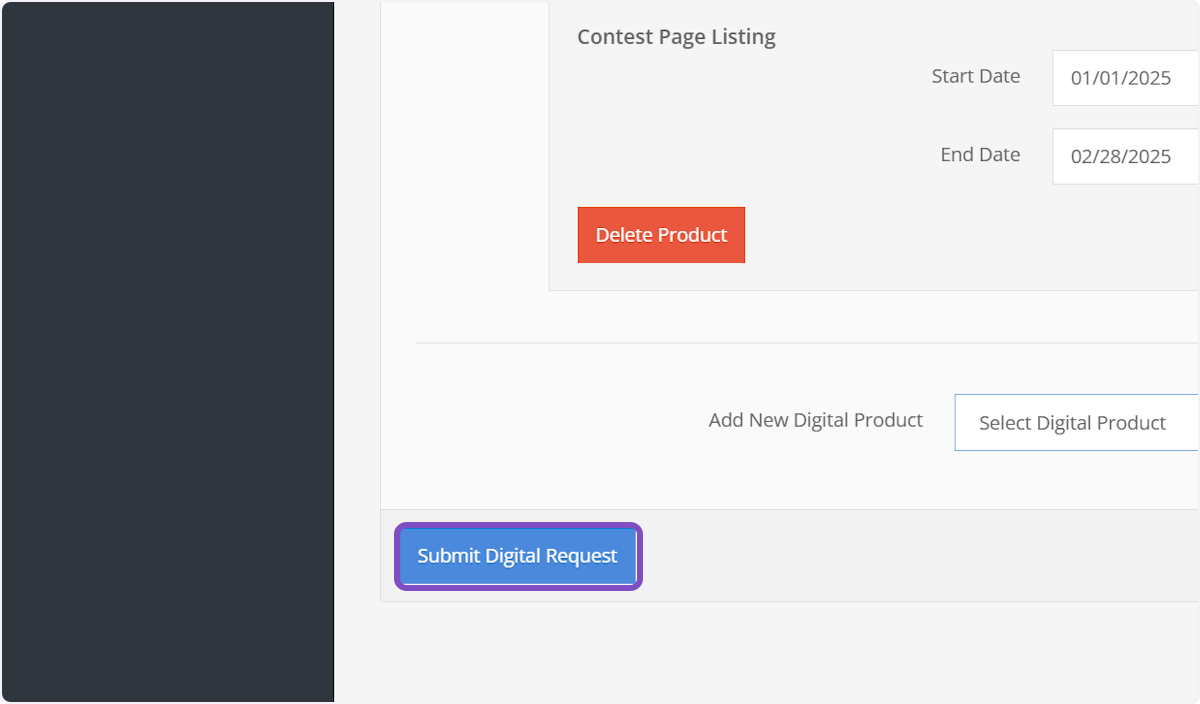
26. Others may require a start and end date
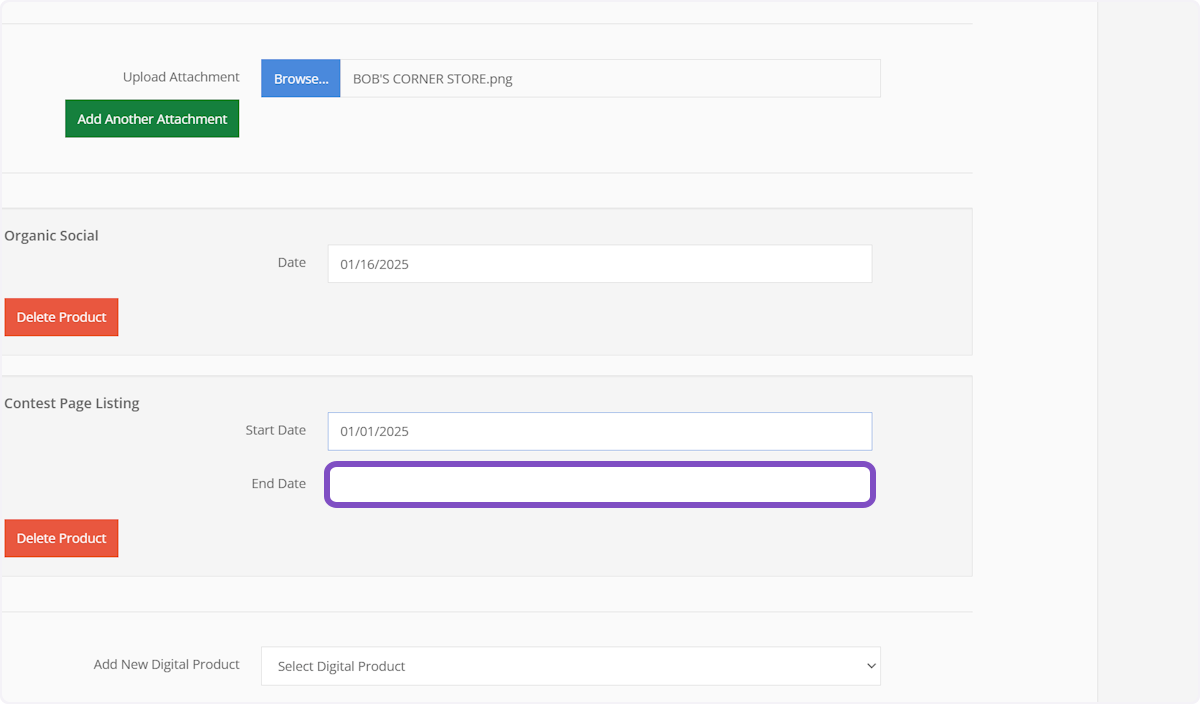
27. Once you've added all your digital products, click "Submit Digital Request"
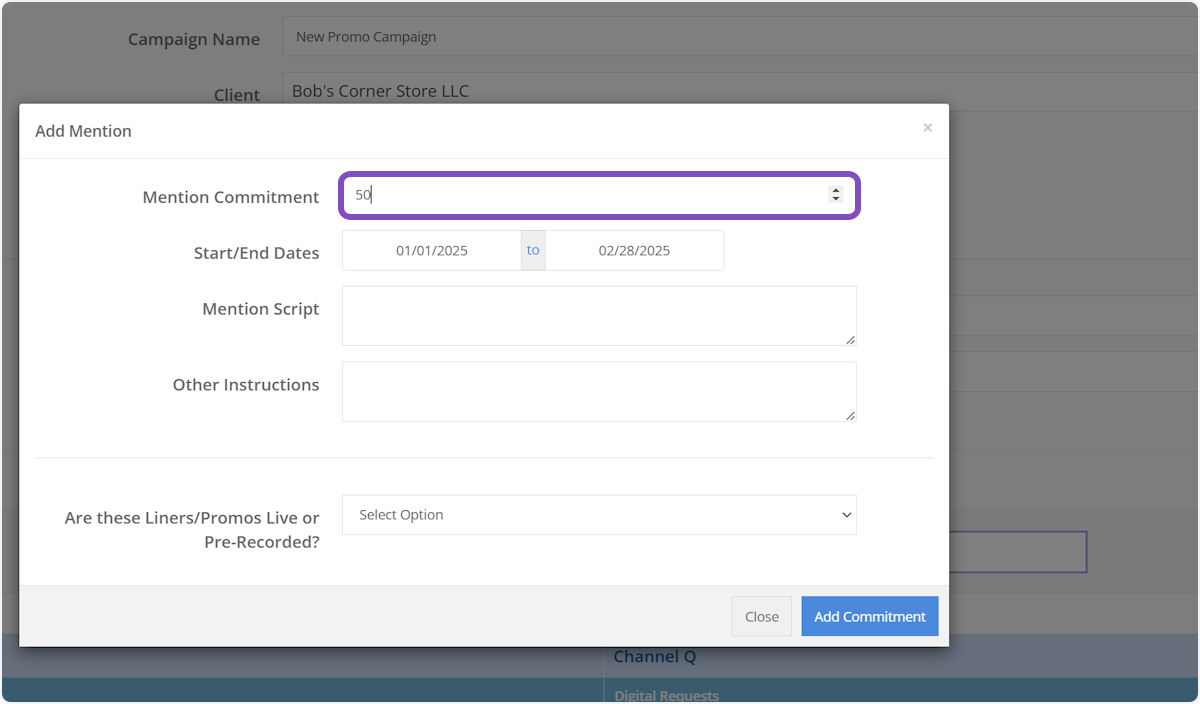
28. Next, we'll add a new mention commitment. Click "Add New Mention" within the corresponding station column.
In this example, this mention commitment will air on BetQL Network
29. Start by providing the number of mentions for this campaign
In our example, we'll request 50.
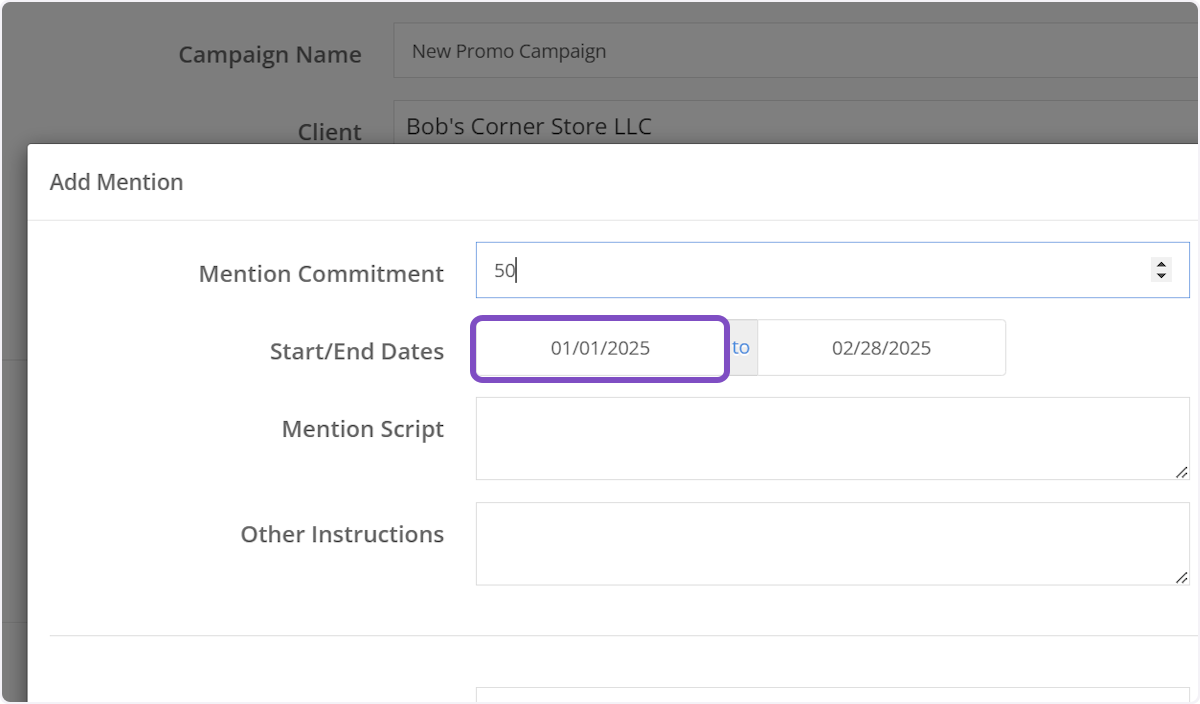
30. By default, the start and end dates for the mention will be the same as the overall campaign. You can change these by clicking on either of the dates next to "Start/End Dates"
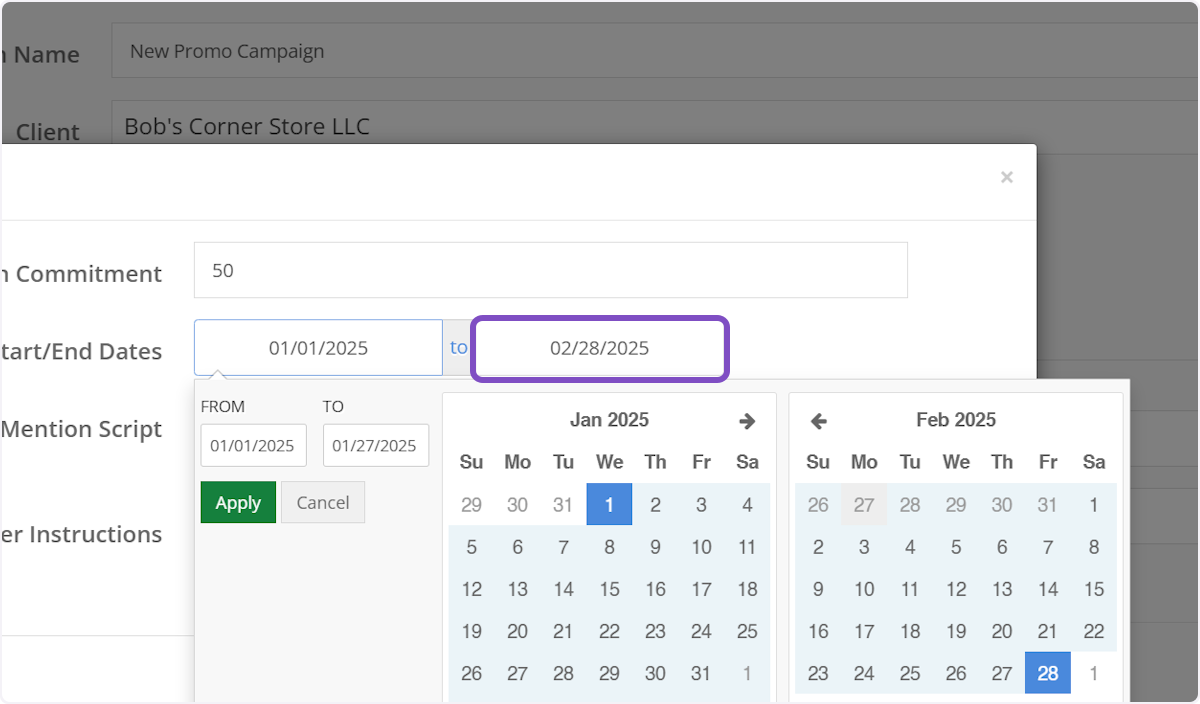
31. Use the calendar widget to select new start and end dates for this mention
The calendar on the left is the start date, the calendar on the right is the end date
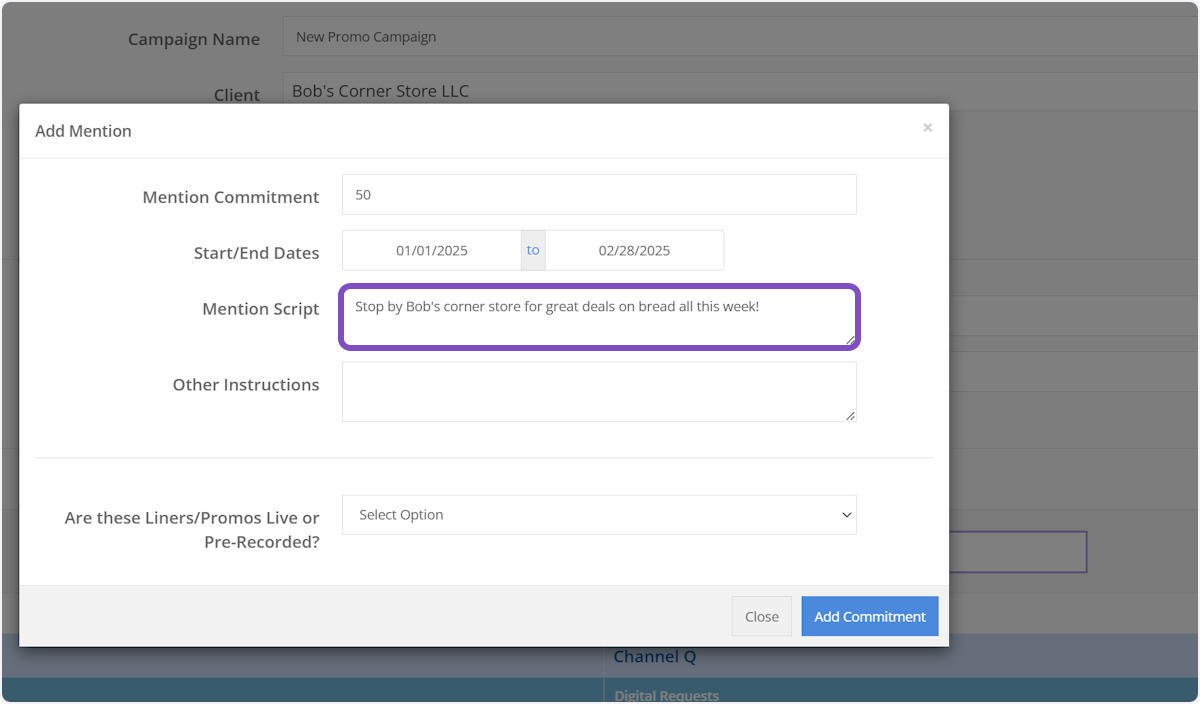
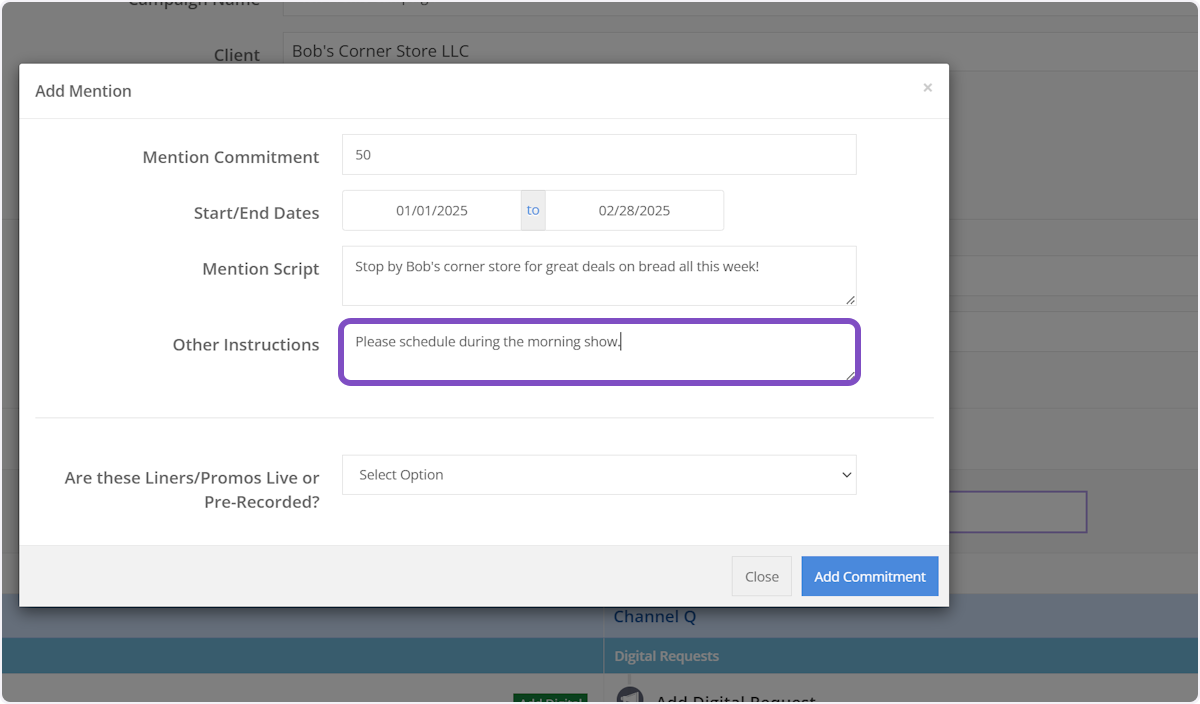
32. Next, provide the script for this mention/live read.
If you don't have a script, you can leave this blank or type something like "TBD"
33. You can provide any additional context for this mention/live read in the "Other Instructions" field
This can also be left blank is not additional context is needed
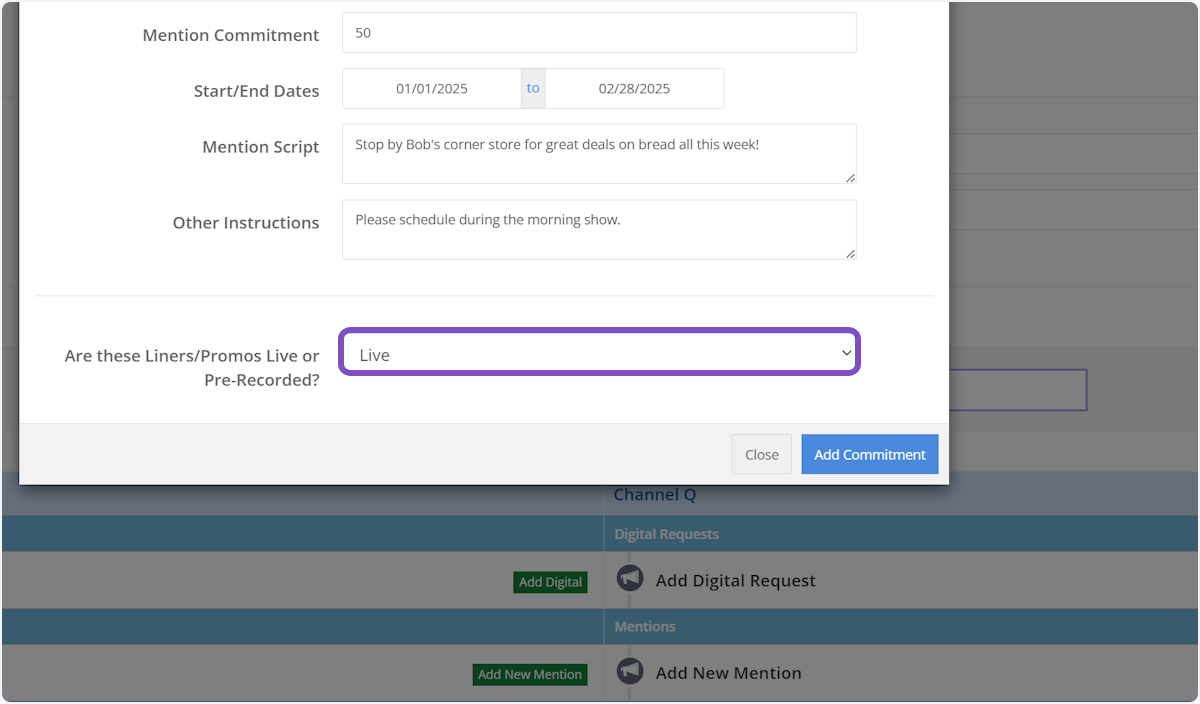
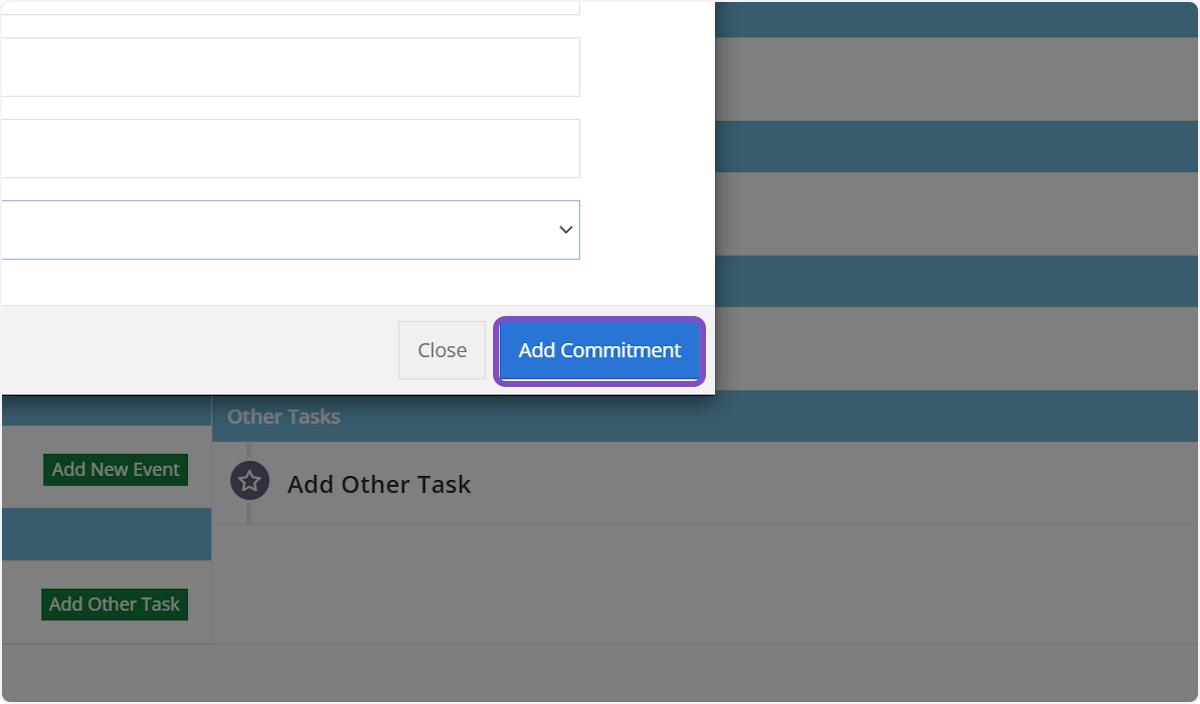
34. If you mention is going to be a live read on the radio, select "Live". If this mention will be pre-recorded, select "Pre-Recorded" in this dropdown
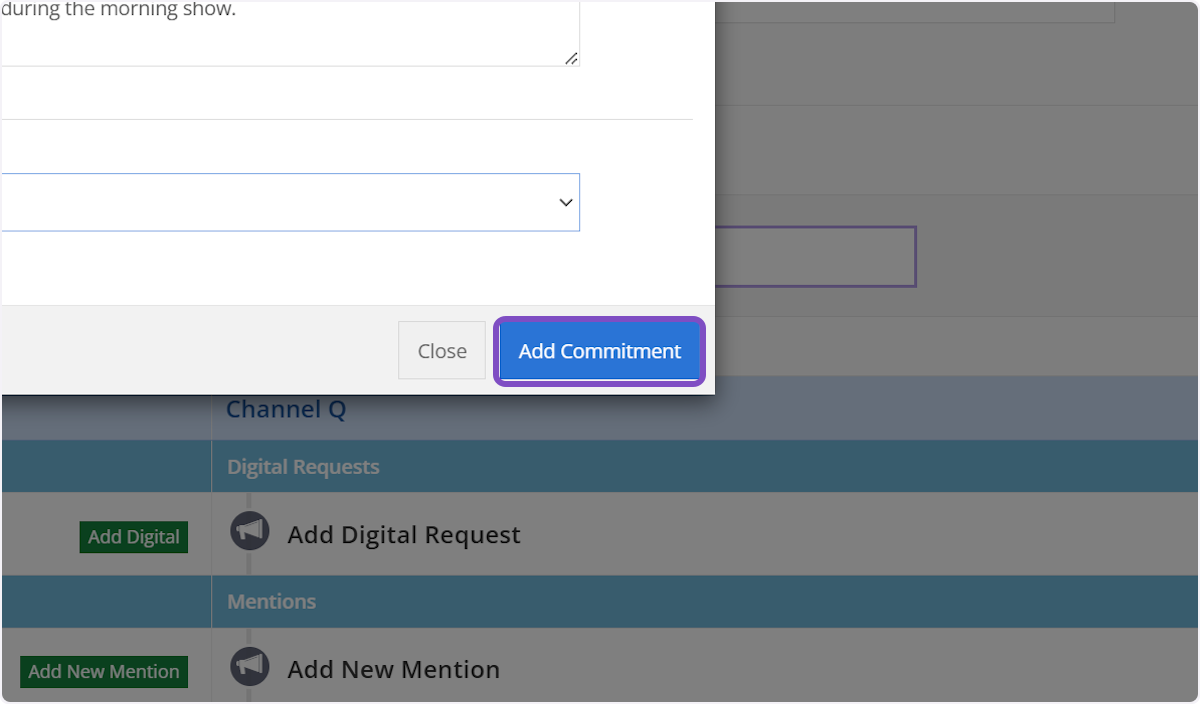
35. Click on Add Commitment
36. Now we'll add a contest to our campaign. Click on Add New Contest within the corresponding station column

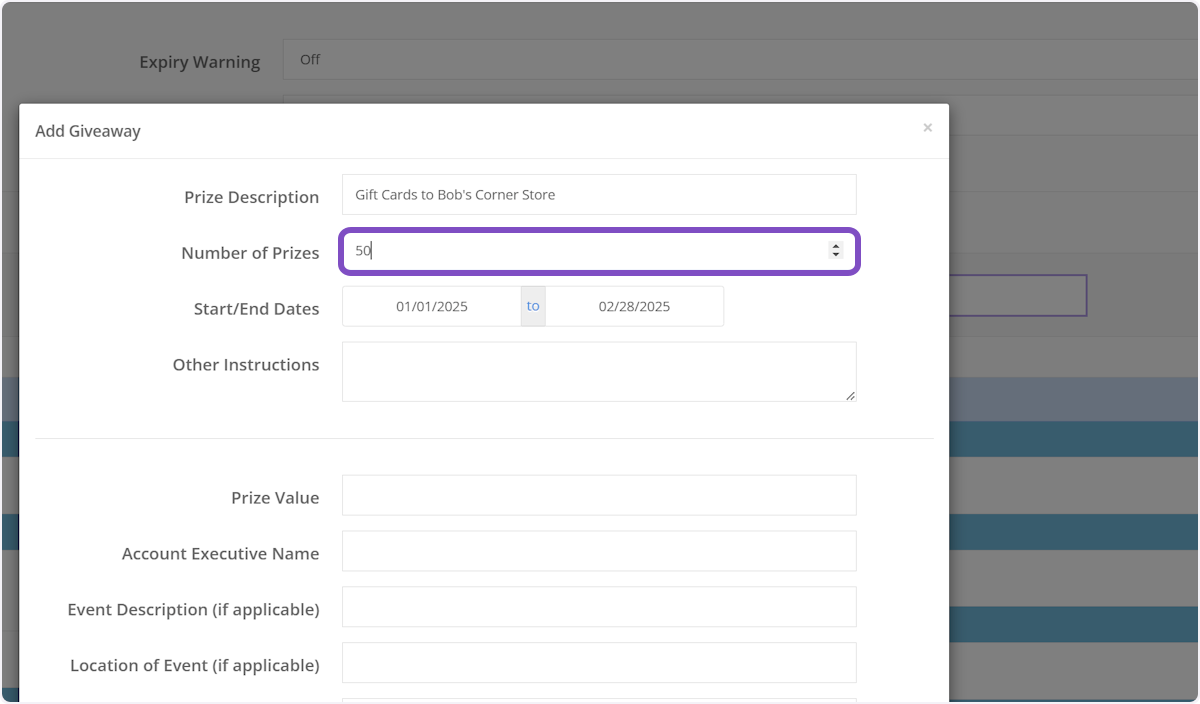
37. Provide a description of the prize the client is providing
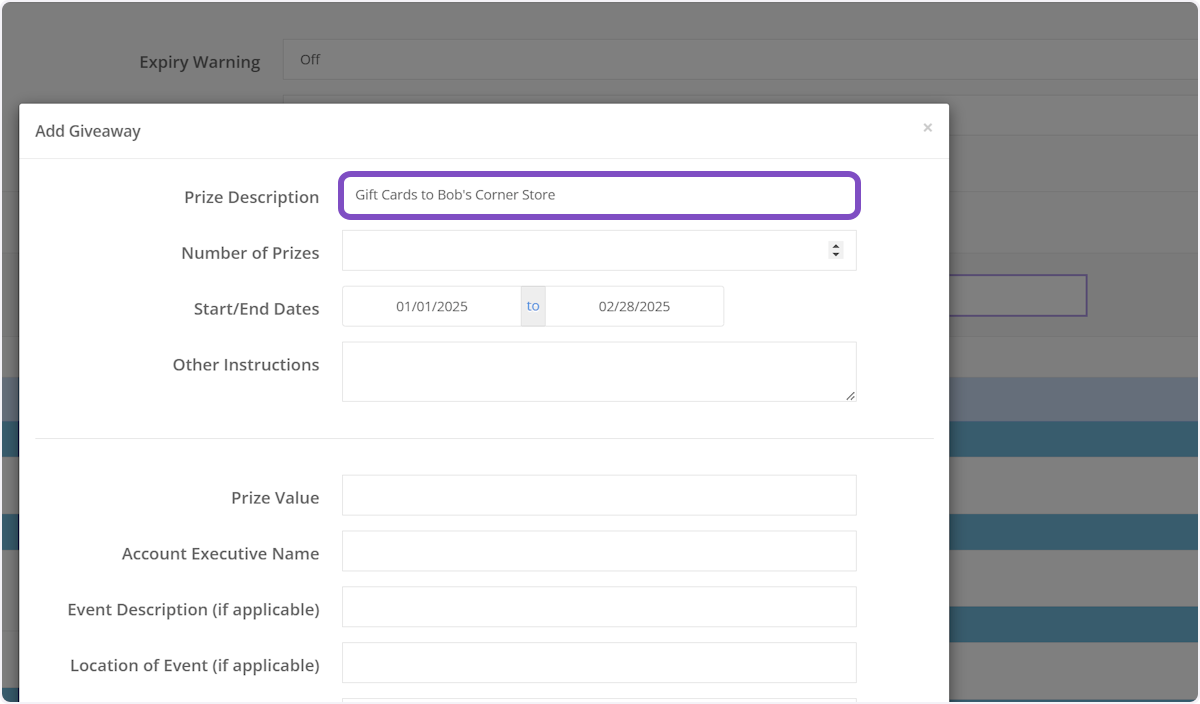
38. Add the number of prizes that will be given away as part of the contest
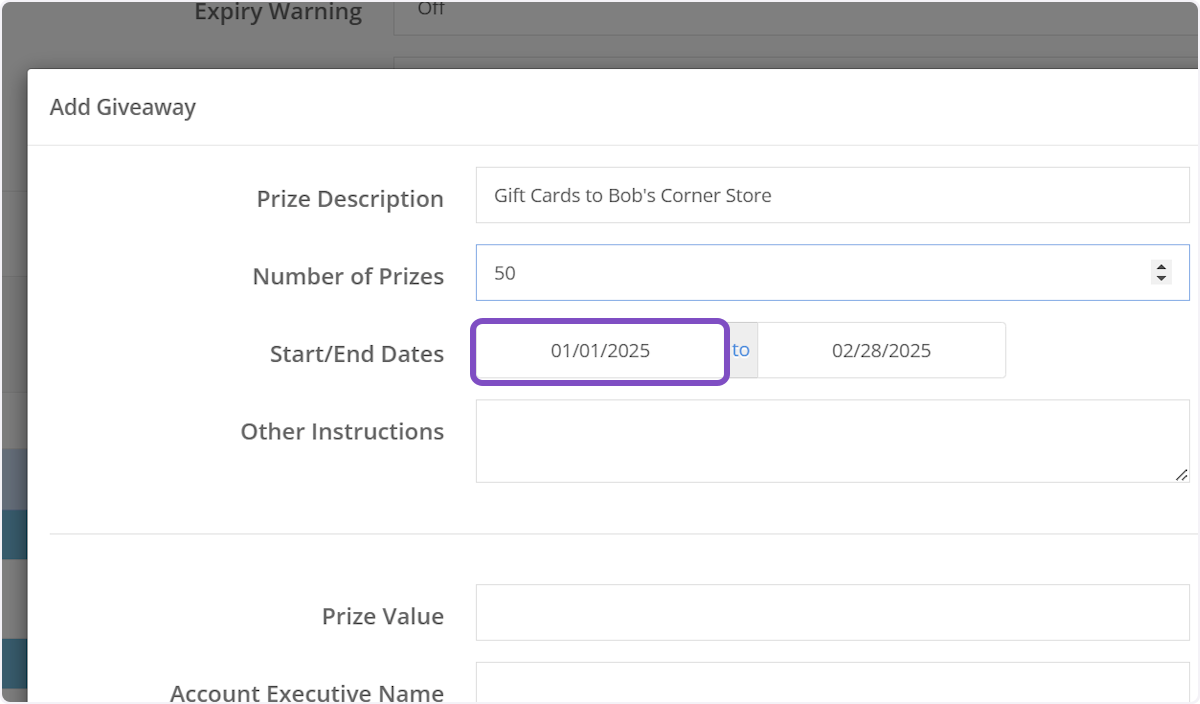
39. By default, the start and end dates for the contest will be the same as the overall campaign. You can change these by clicking on either of the dates next to "Start/End Dates"
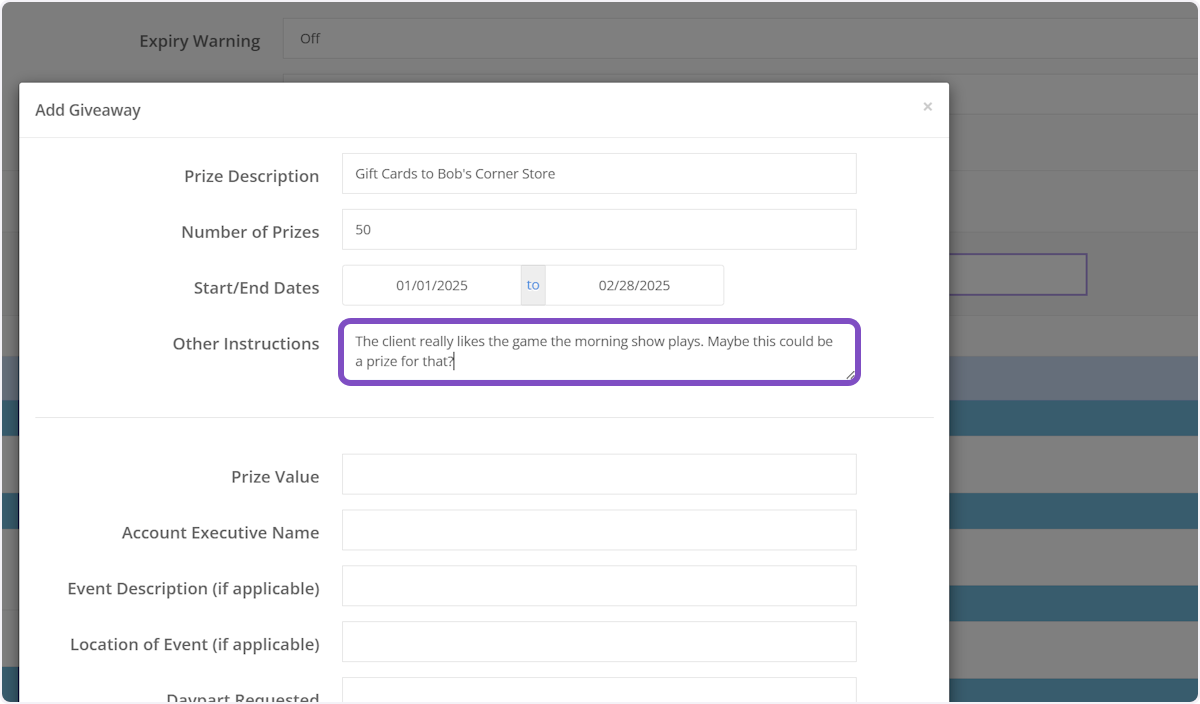
40. You can provide any additional context for this mention/live read in the "Other Instructions" field
This can be left blank if no additional context is needed. In our example we'll type "The client really likes the game the morning show plays. Maybe this could be a prize for that?"
41. Provide the value of each prize
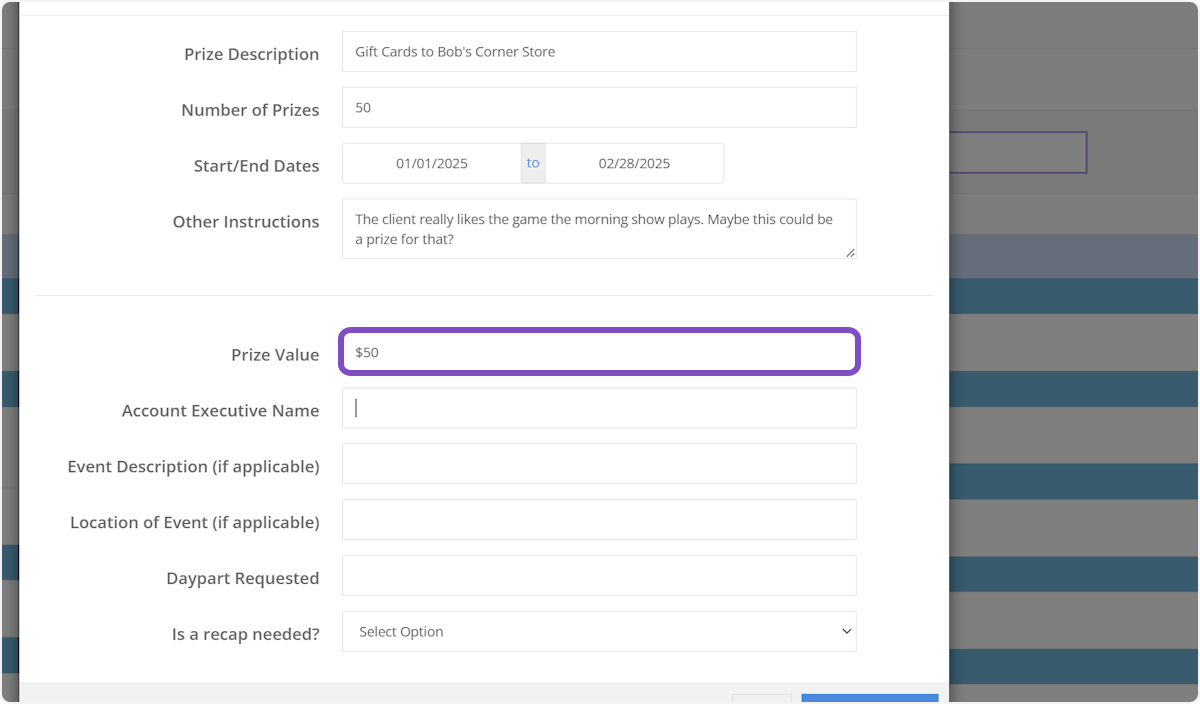
42. Type the name of the account executive for this client
This can be you or the name of the AE you are creating the campaign on behalf

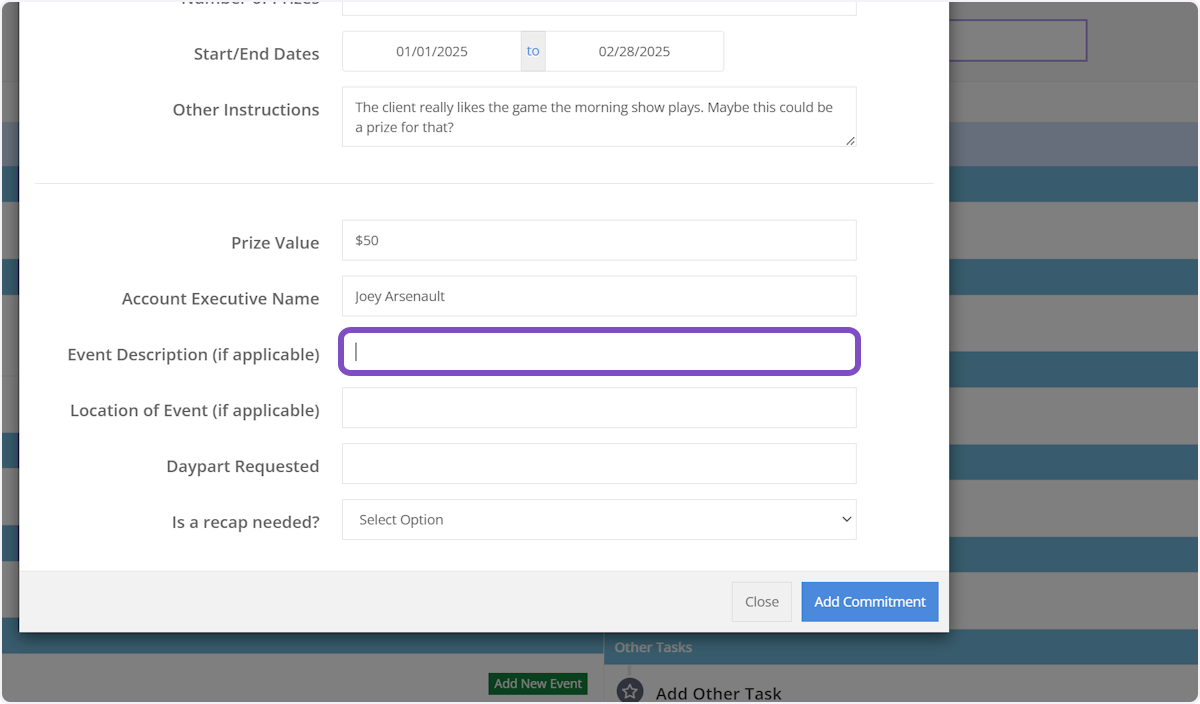
43. If an event is associated with this contest, provide a description
If no event is associated with the contest, this can be left blank.
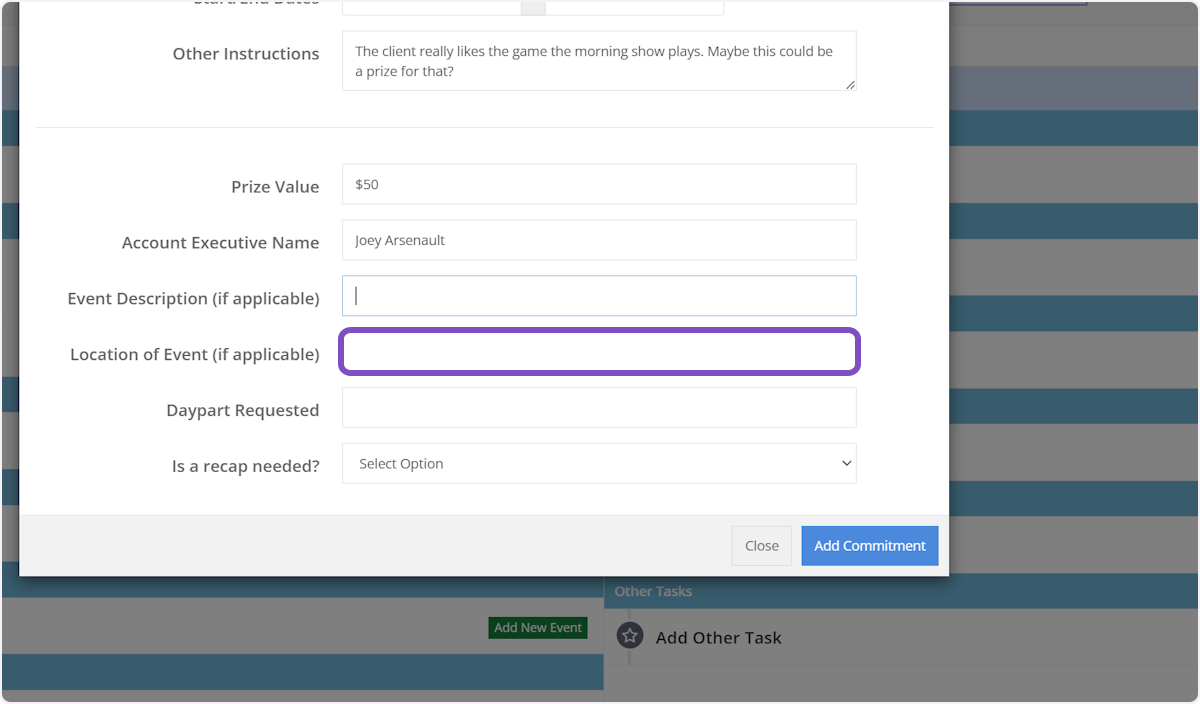
44. Provide the location of the event
If no event is associated with the contest, this can be left blank.
45. Provide the name of the daypart your client has requested this contest will be airing
If no daypart is request, type something like "No Daypart Requested"
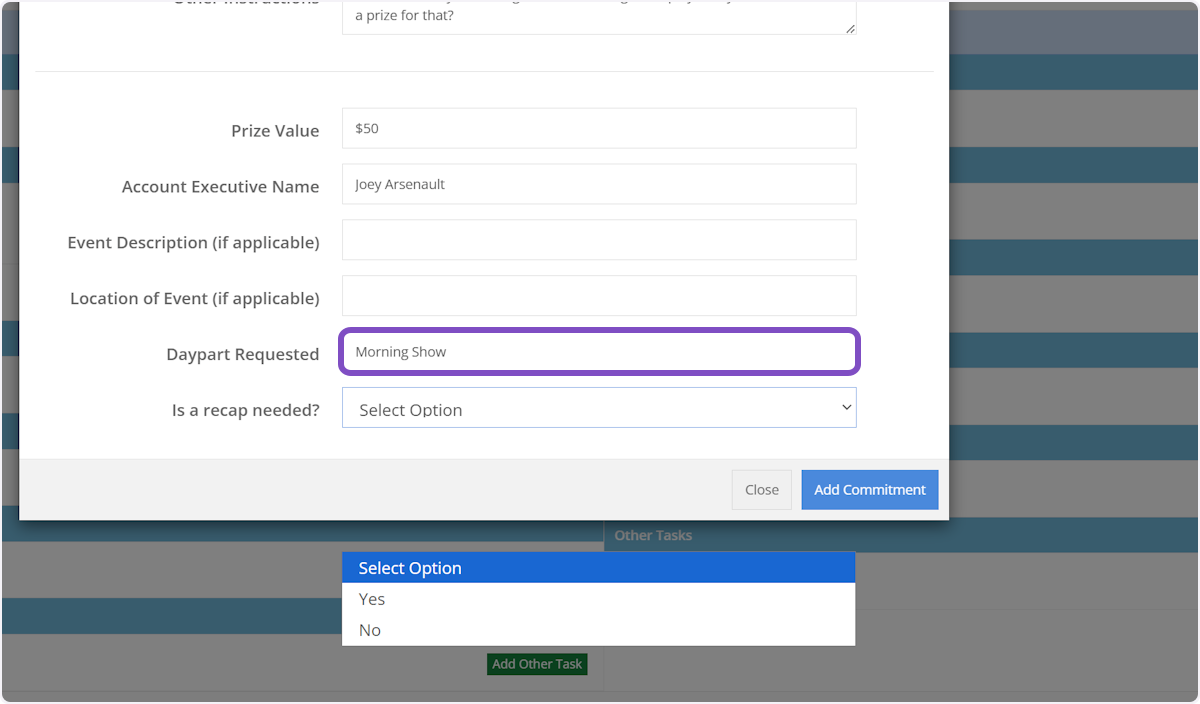
46. Select Yes or No if you need a contest recap provide following the completion of the contest.
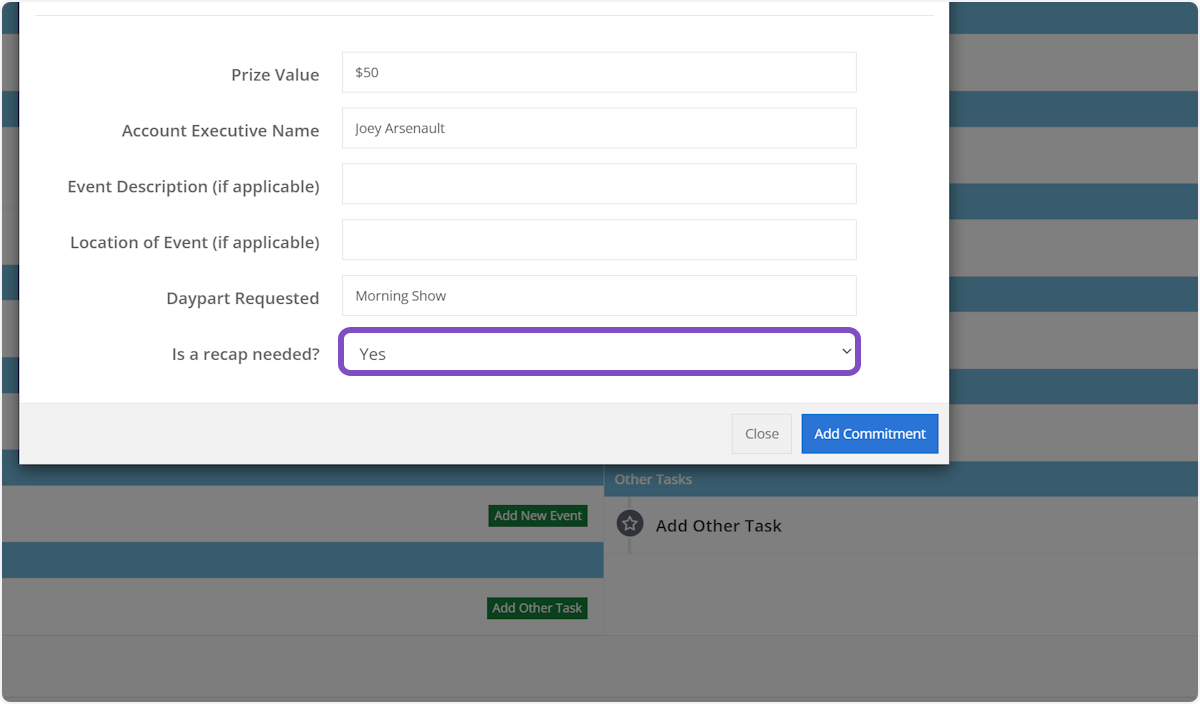
47. Click on Add Commitment
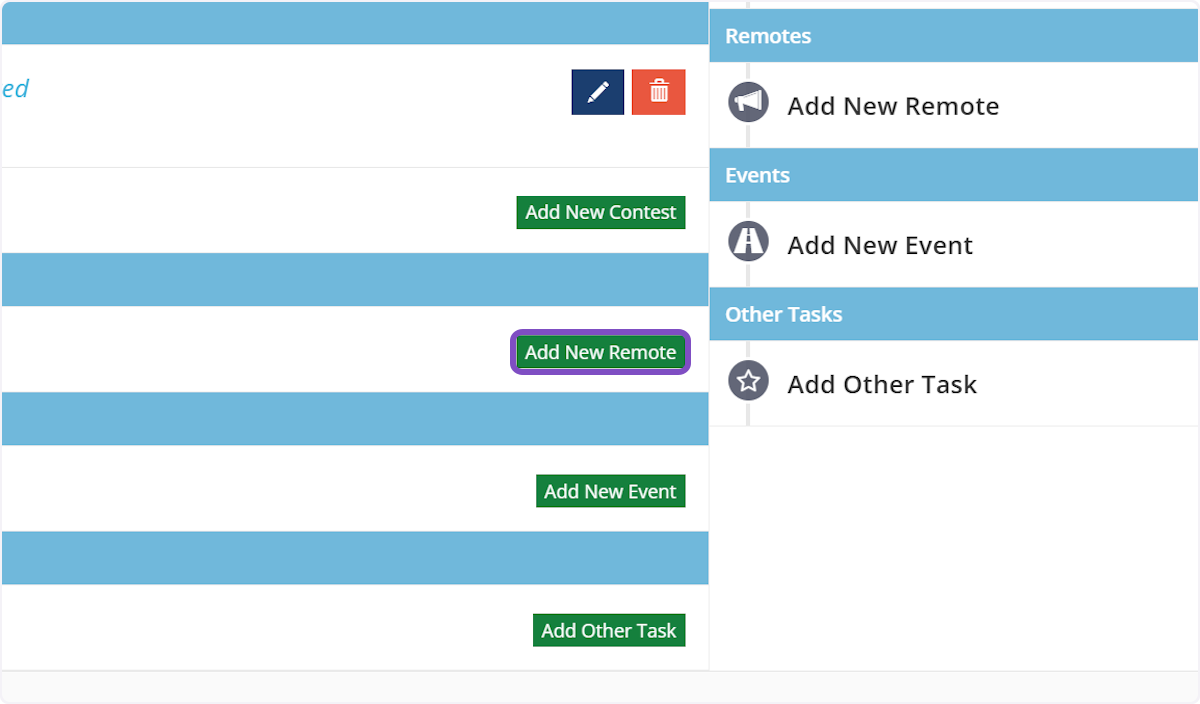
48. Next we'll add a remote to our campaign. Click on Add New Remote within the corresponding station column
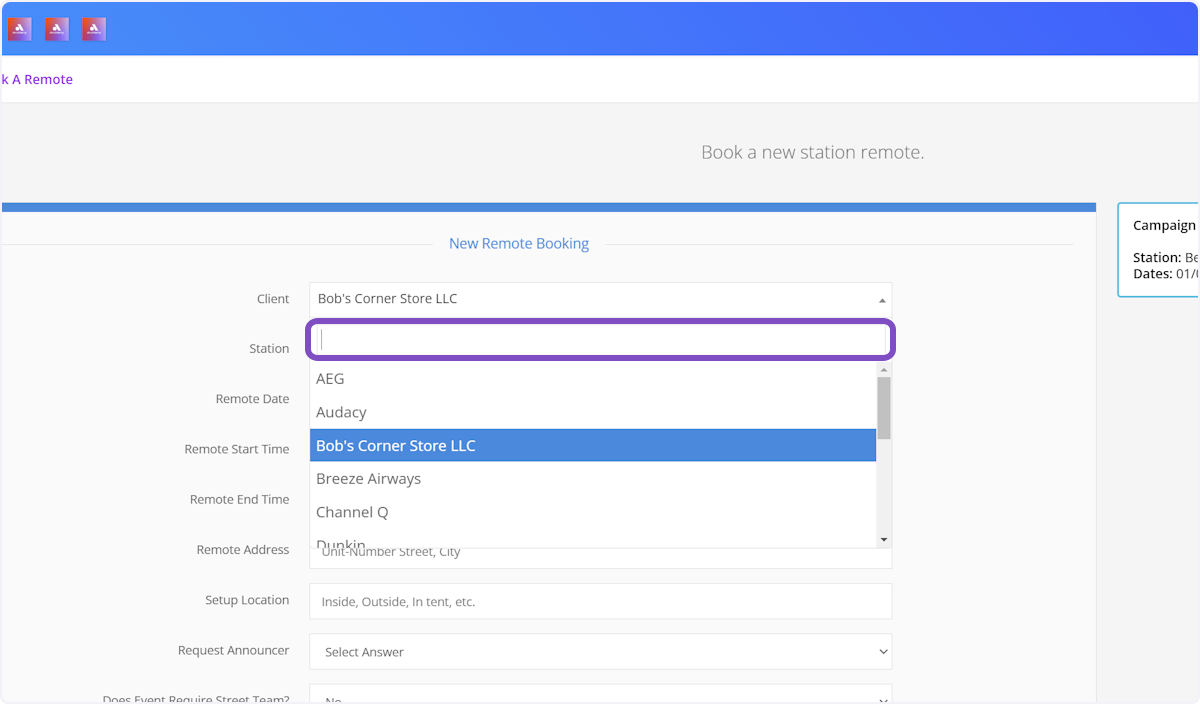
49. Be default the client associated with this campaign will be selected. You change this if needed by clicking on the client's name.
You can also search this list by beginning to type anywhere in the search bar directly below the the current client's name.
50. Next, select the date for your remote
If the date is greyed out and not clickable, it means that date is already booked

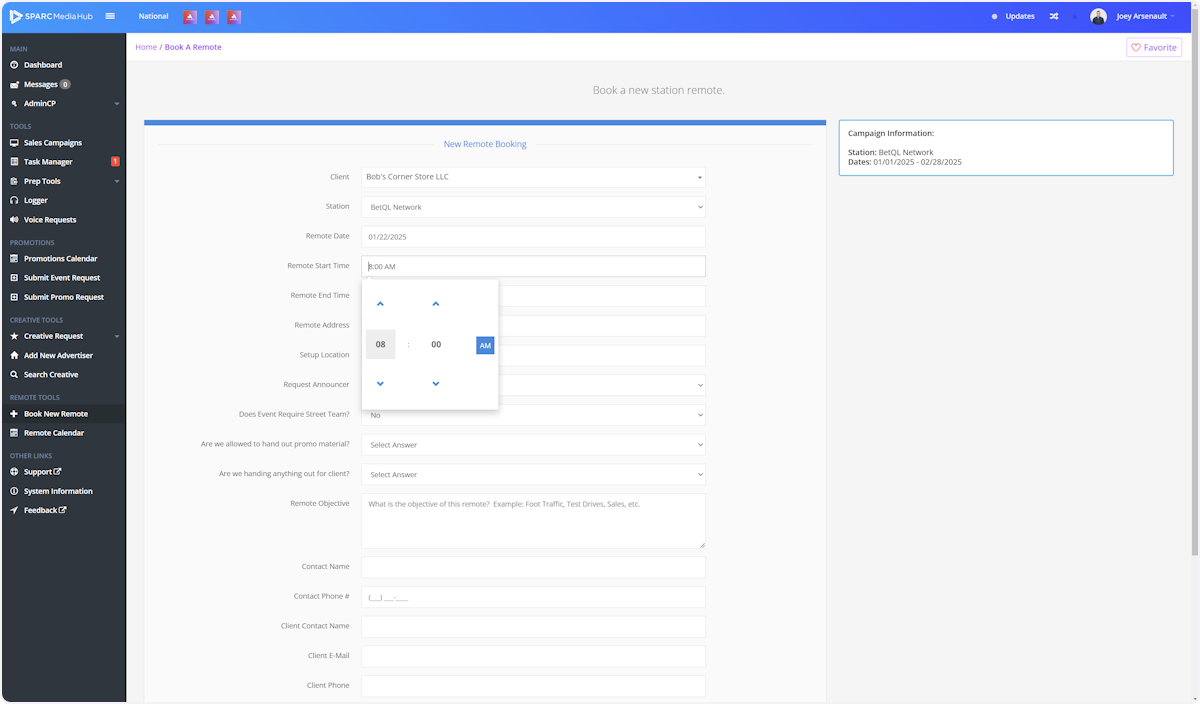
51. Then, choose a start time for your client's remote
Select the hour on the left and minutes on the right
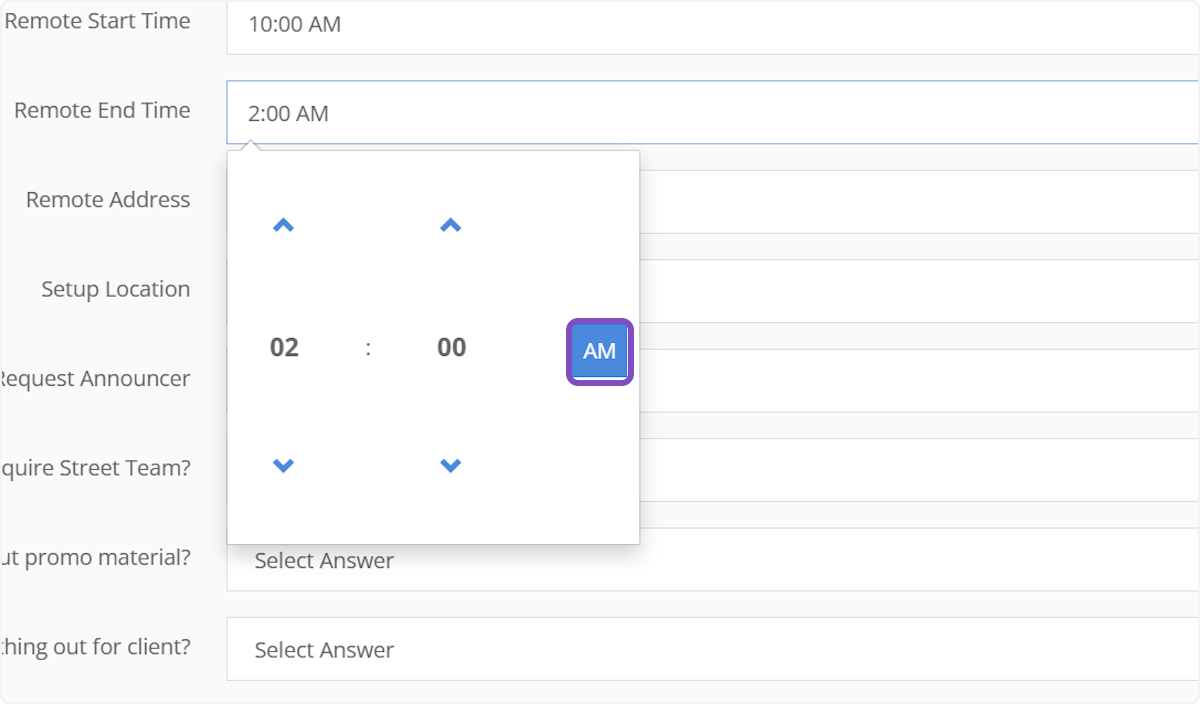
52. Then choose your remote end time

53. Then choose your remote end time
Select the hour on the left and minutes on the right and don't forget to toggle the AM/PM to the correct time
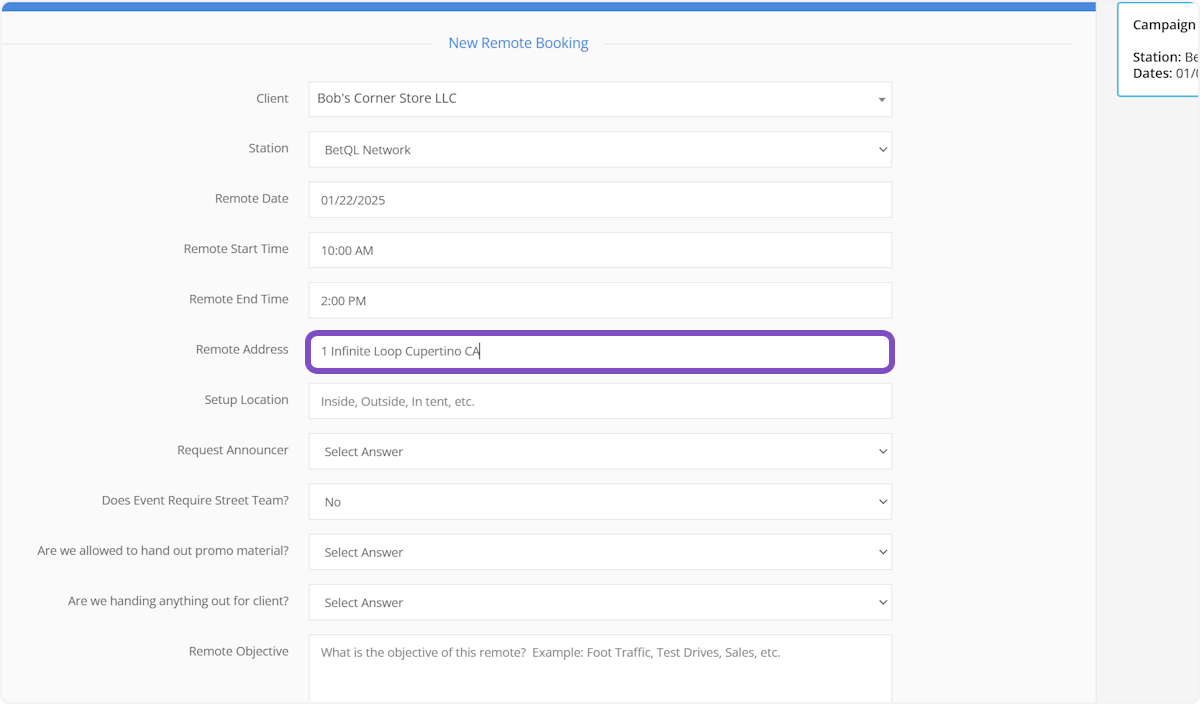
54. Enter the address for the remote
Be as specific as possible. This pulls in a Google Map on the remote info page
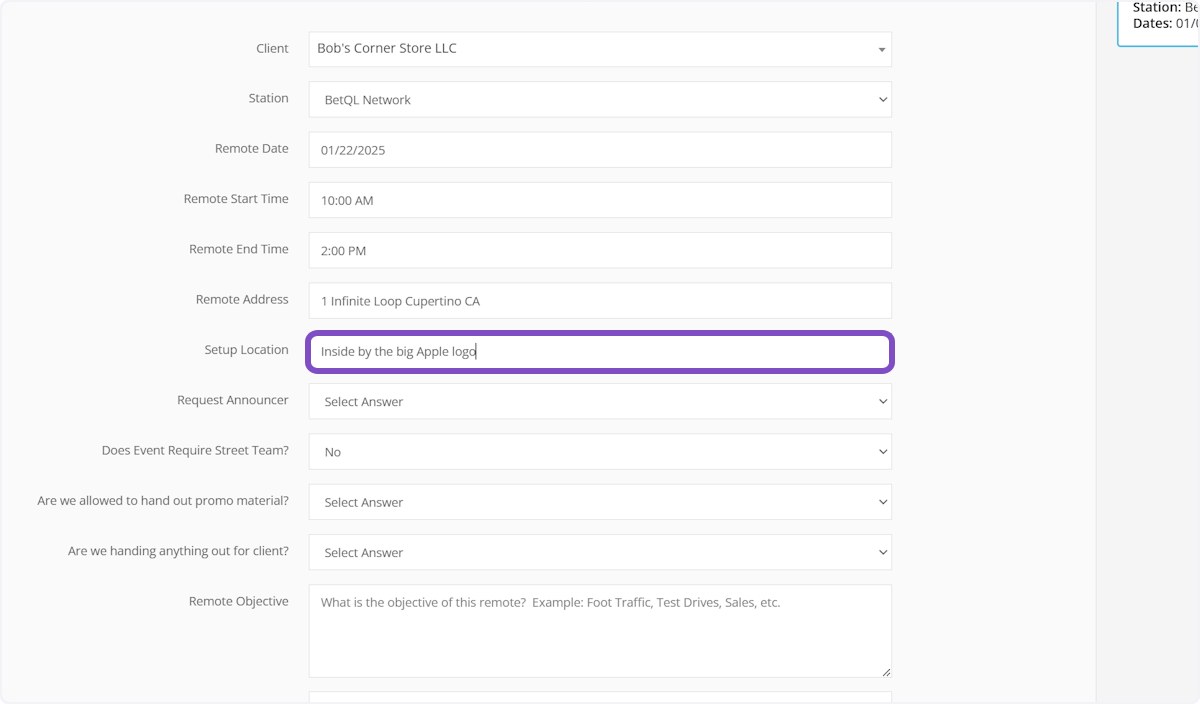
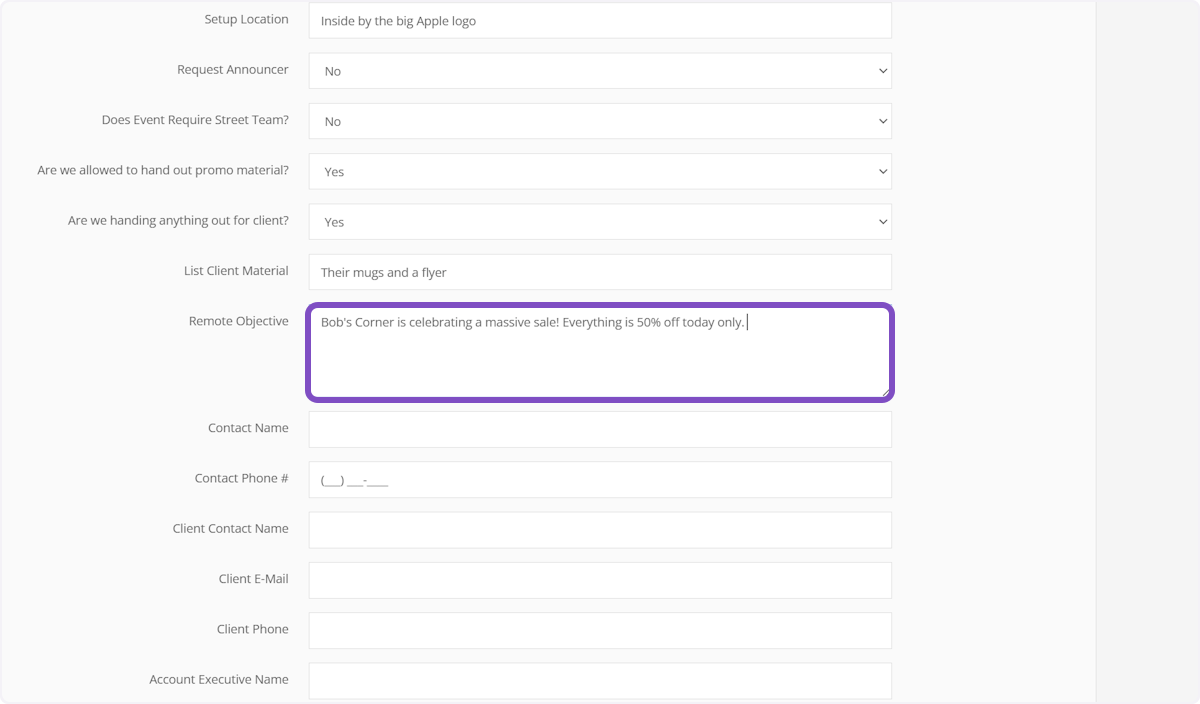
55. Provide details about the setup location of the broadcast
If you haven't received confirmation about the setup location, just type something like "TBD". You can edit the setup location at a future time.
56. If you would like to request a specific announcer for your client's remote select "Yes" in the "Request Announcer" dropdown
If you select "Yes" you will be prompted to select the announcer's name from a new dropdown
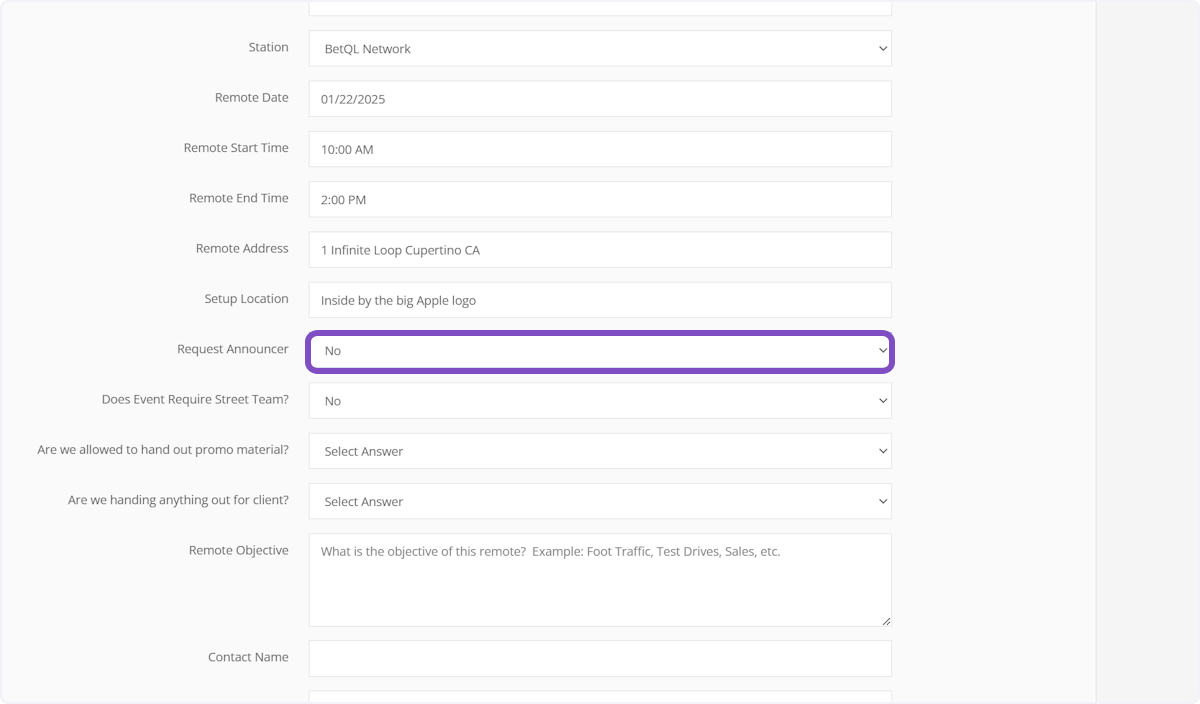
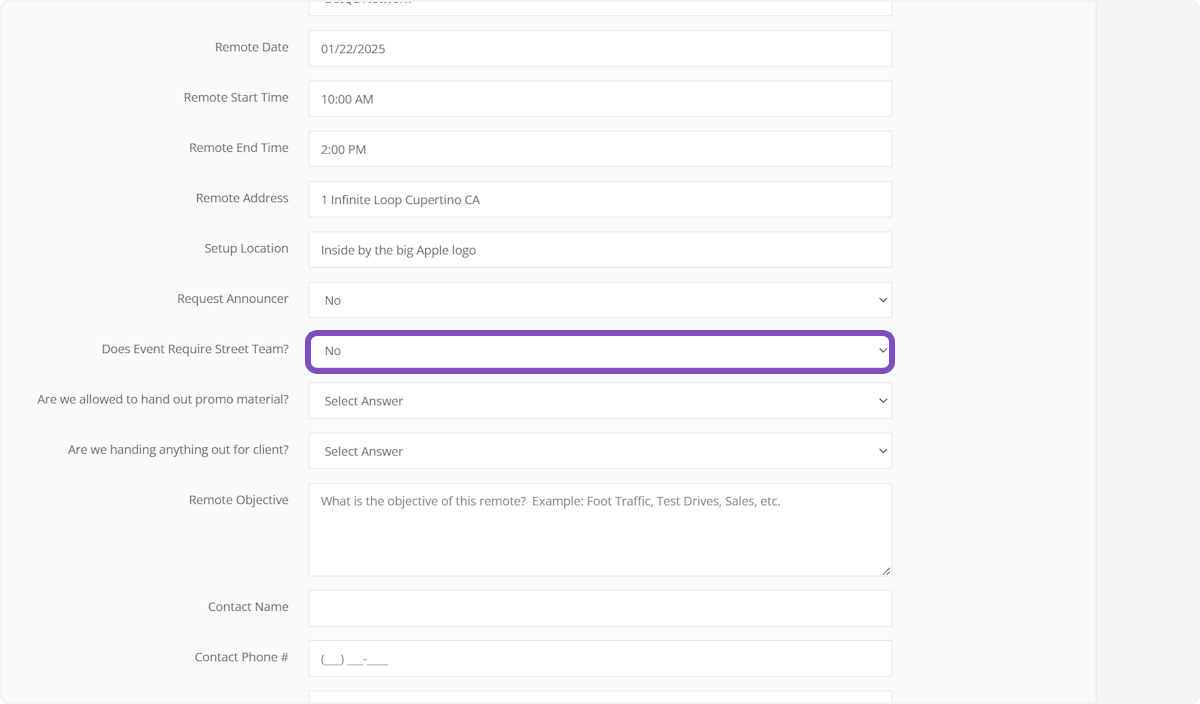
57. If your client remote requires additional resources like a street team, setup technician or engineer, select "Yes" in the "Does Event Require Street Team" dropdown
This will create a separate station "Event" that allows promo to assign additional members to remotes
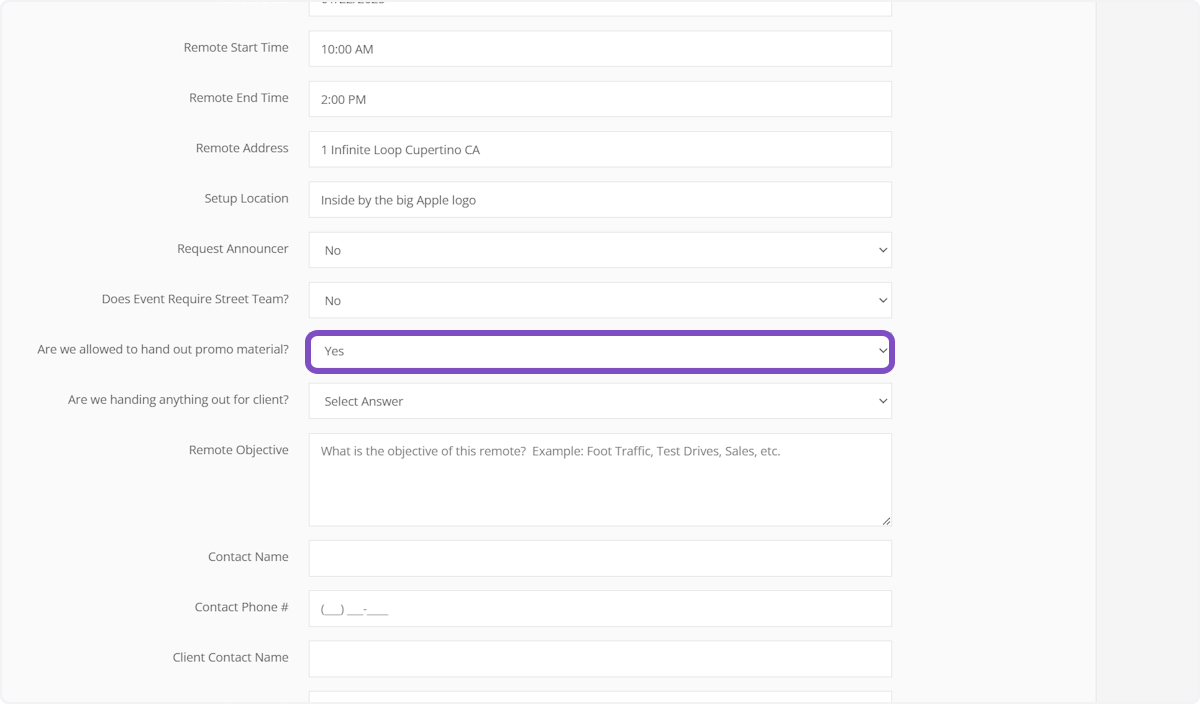
58. If the team on site at the remote is handing out promo material, select Yes in this dropdown
59. If the team on site at the remote is handing out anything that has been provided by the client select "Yes" in this dropdown.
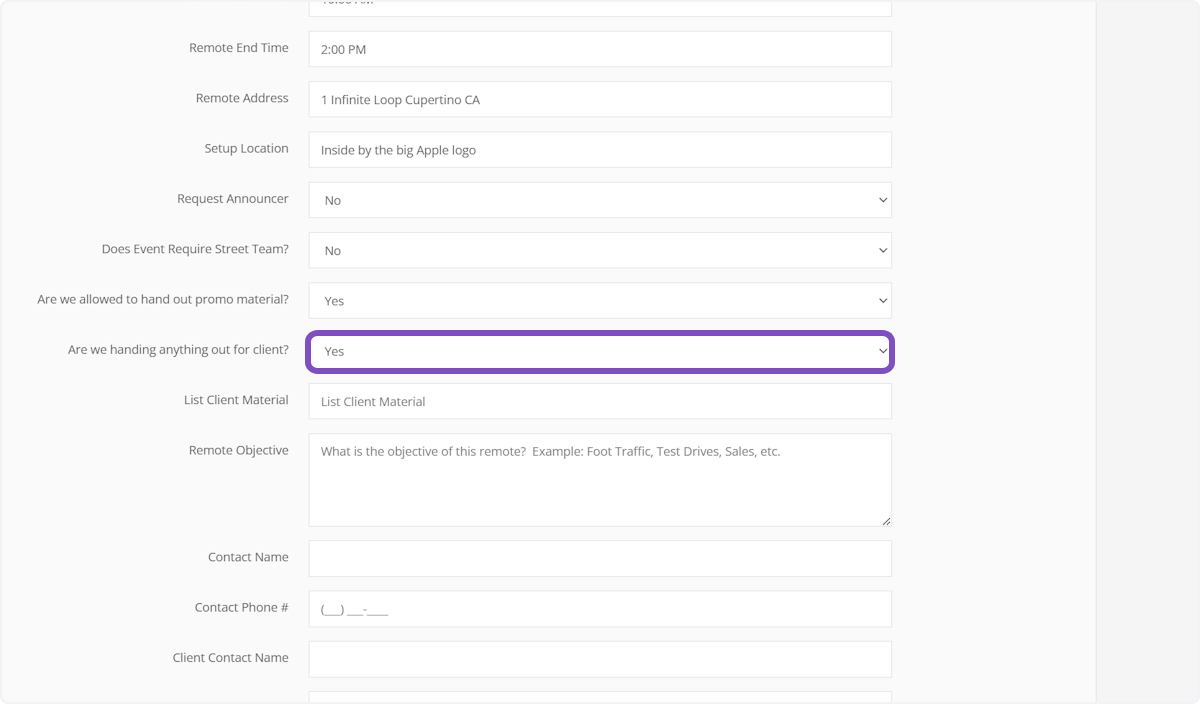
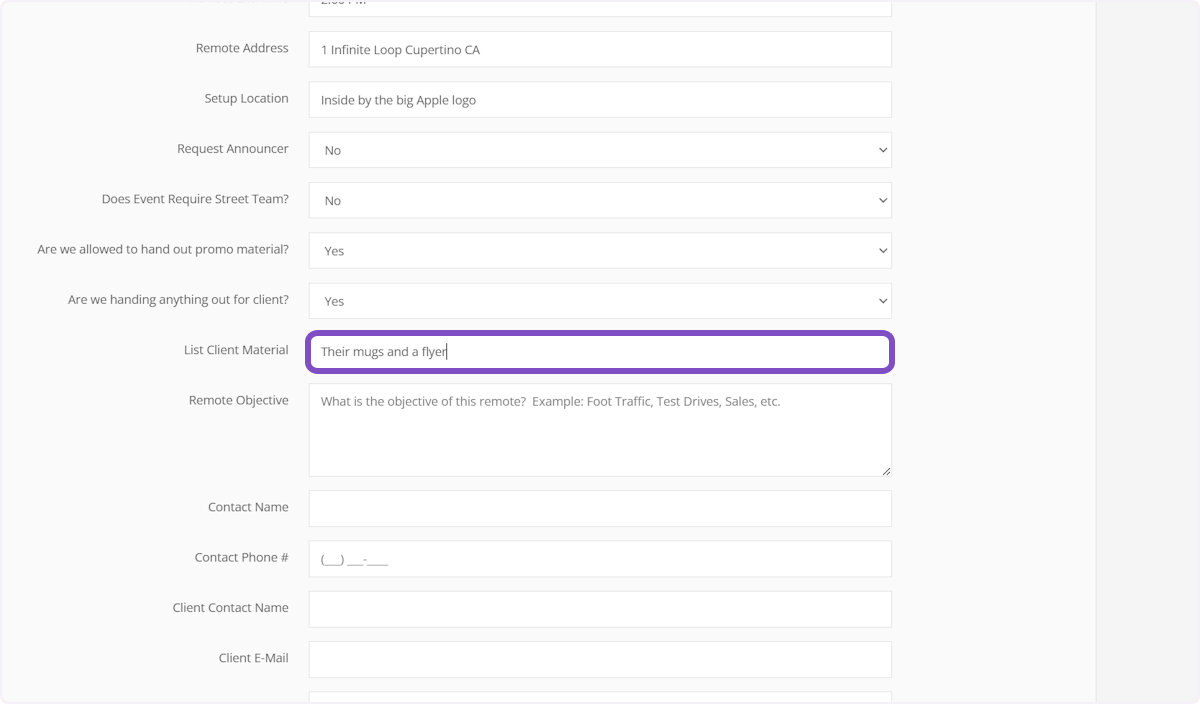
60. If you select "Yes" you will be prompted to provide a list of items that will be handed out.
If you haven't received confirmation from your client about what items will be handed out, you can type something like "TBD". You can provide the list of items at a future time.
61. In "Remote Objection" provide a description of the remote
This can be details about what the announcer will be talking about, the expectations from the client, why the remote is taking place, etc.
62. Provide a name for the day of on-site contact for the remote
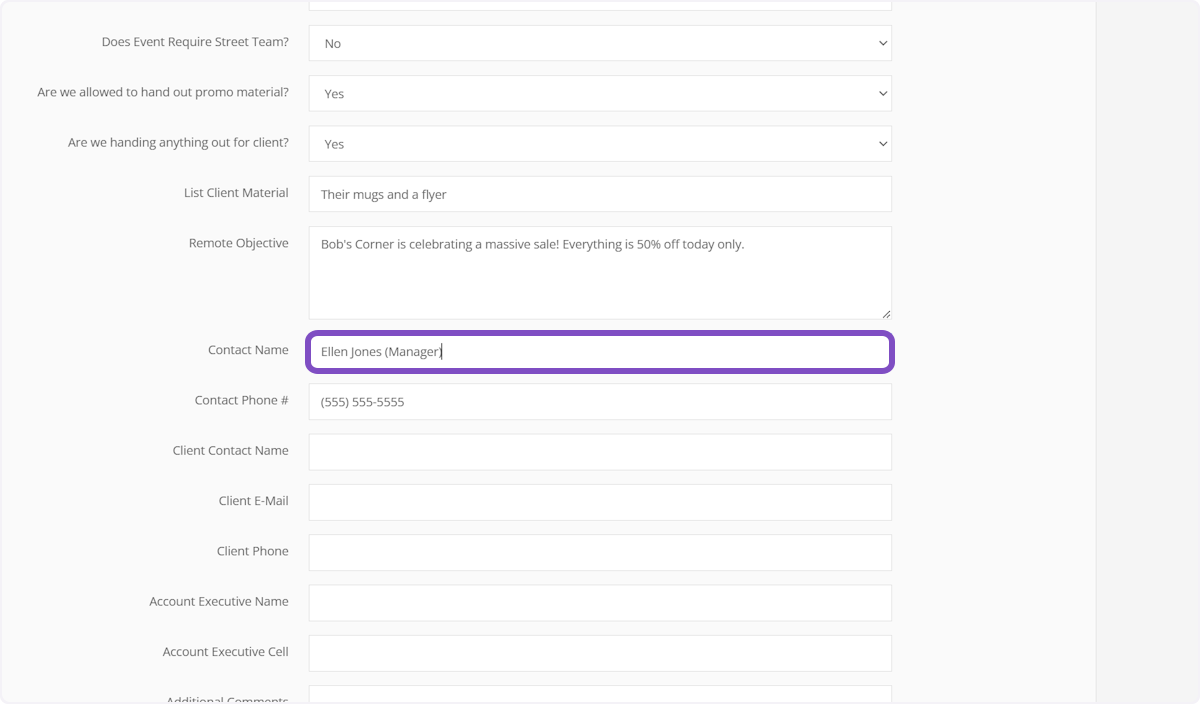
63. And a phone number for the day of on-site contact

64. Provide the client contact name
This is the main contact for the client and may not be on-site the day of the remote
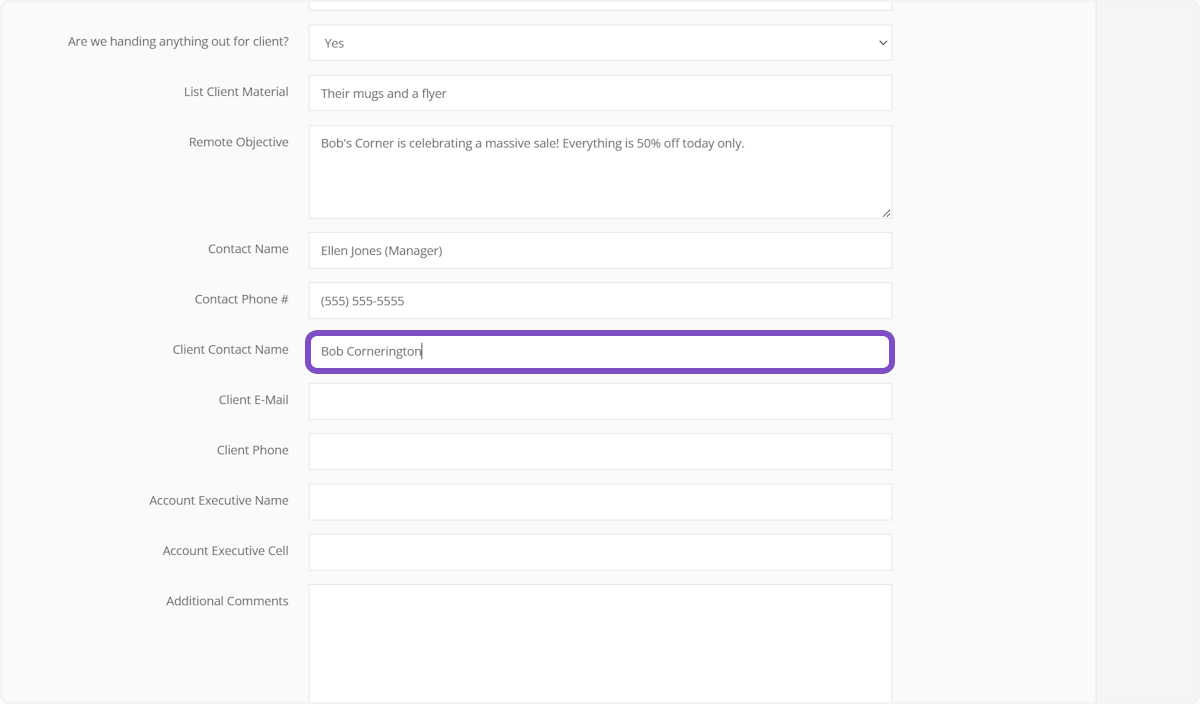
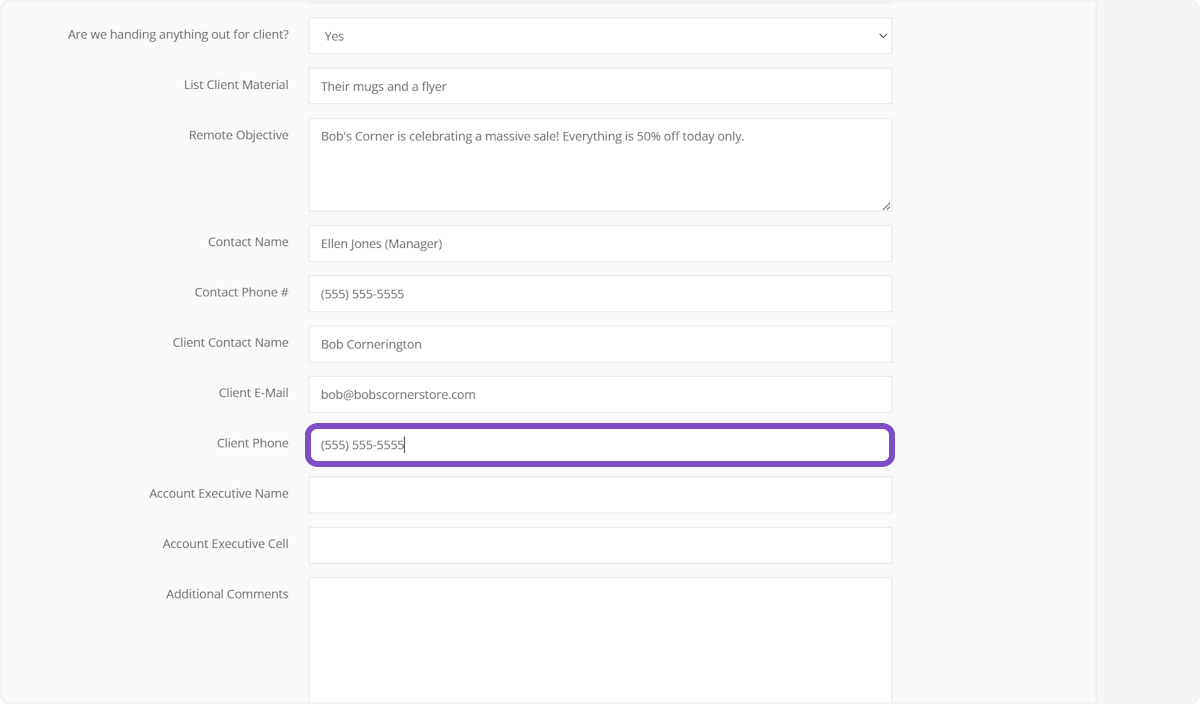
65. Provide an email address for the client contact
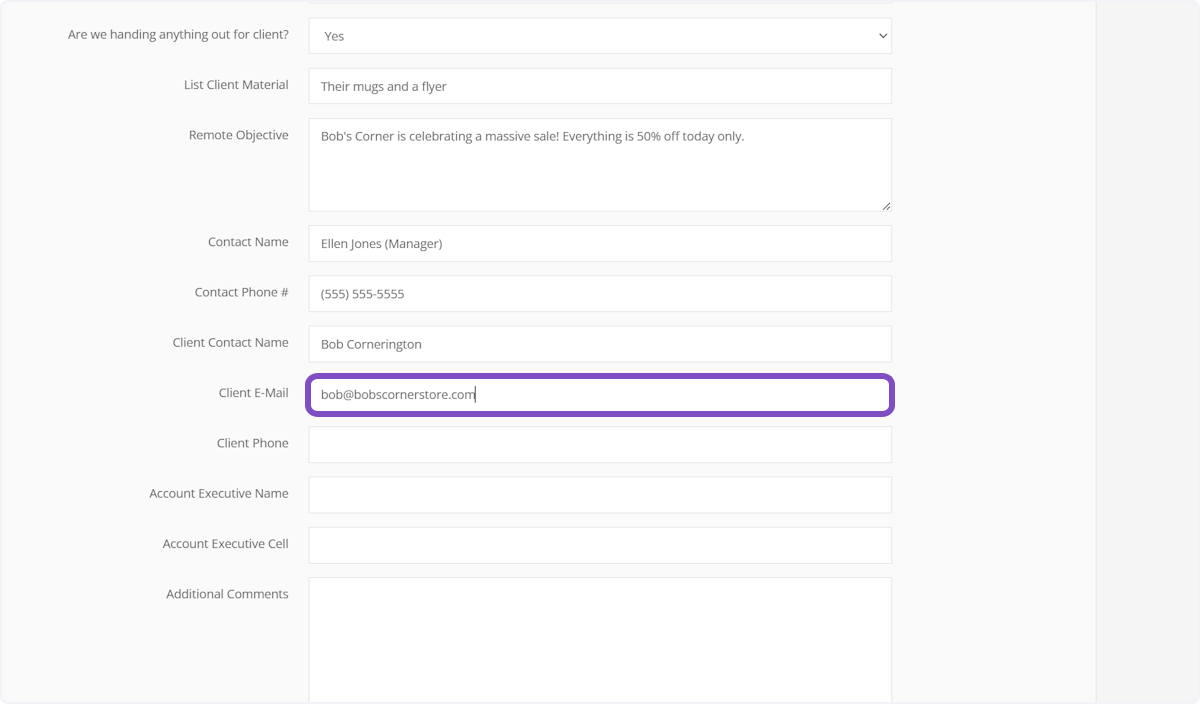
66. And a phone number for the client contact
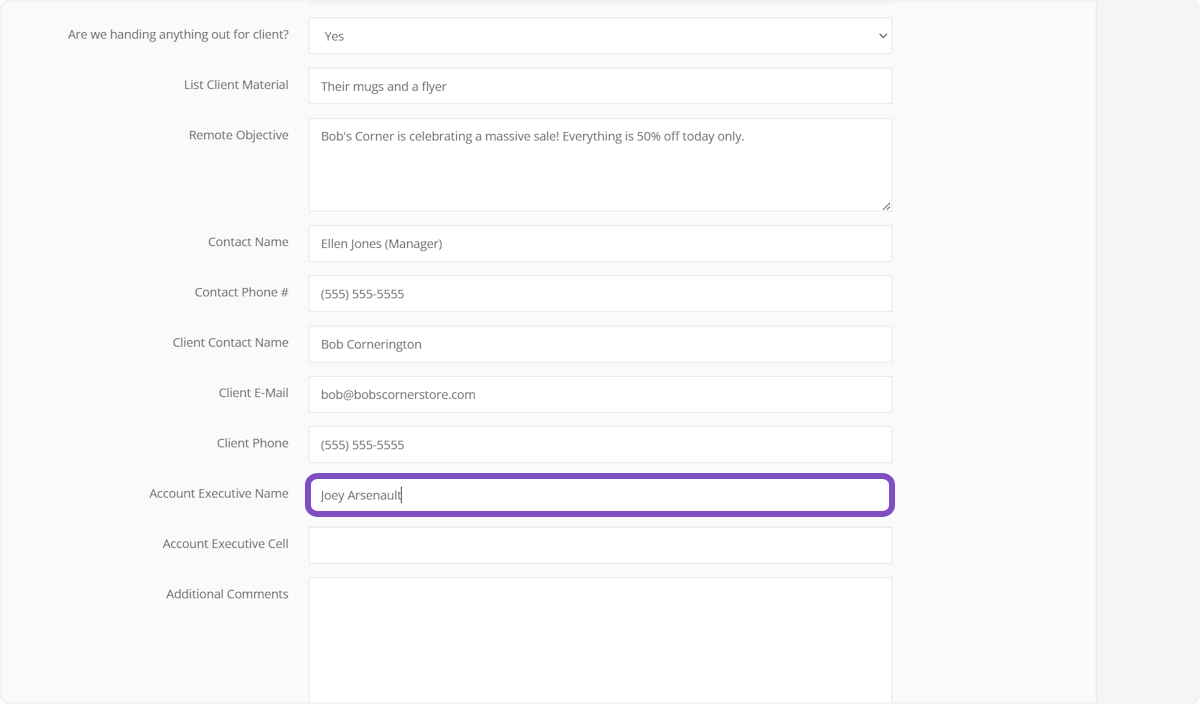
67. Provide the name of the Account Executive for the client
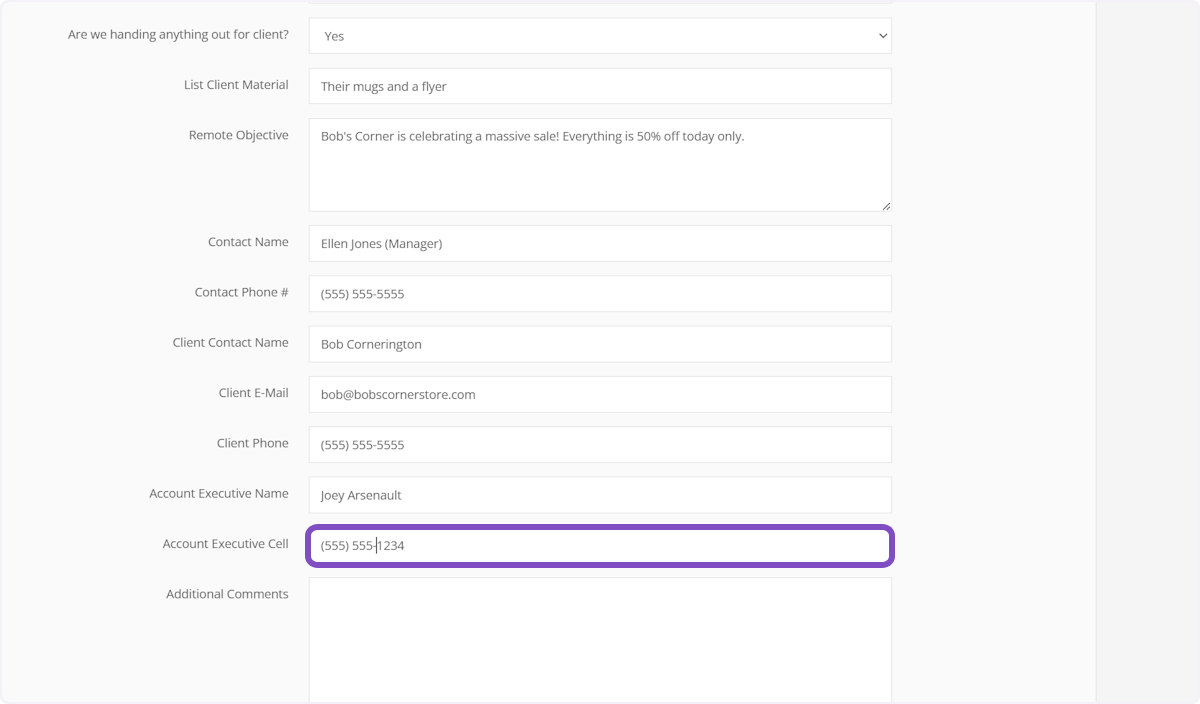
68. Provide a phone number for the Account Executive
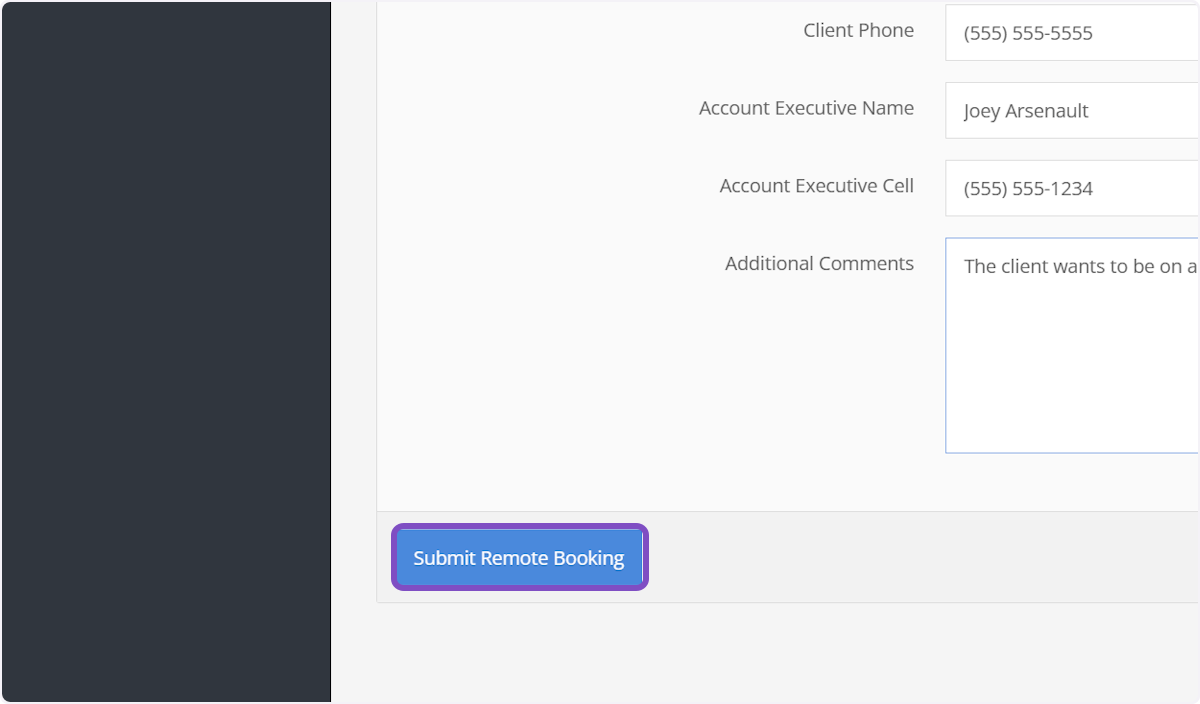
69. You can provide any additional information about the remote or client in the "Additional Comments" section
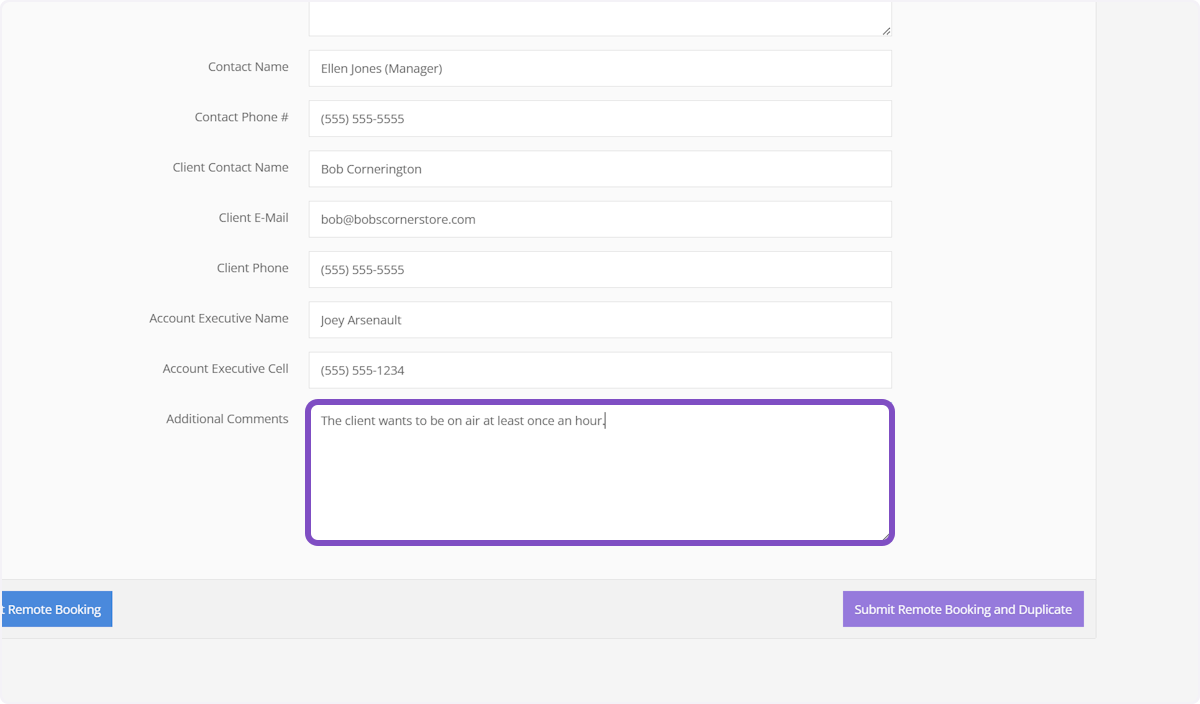
70. Click on Submit Remote Booking and you're done!
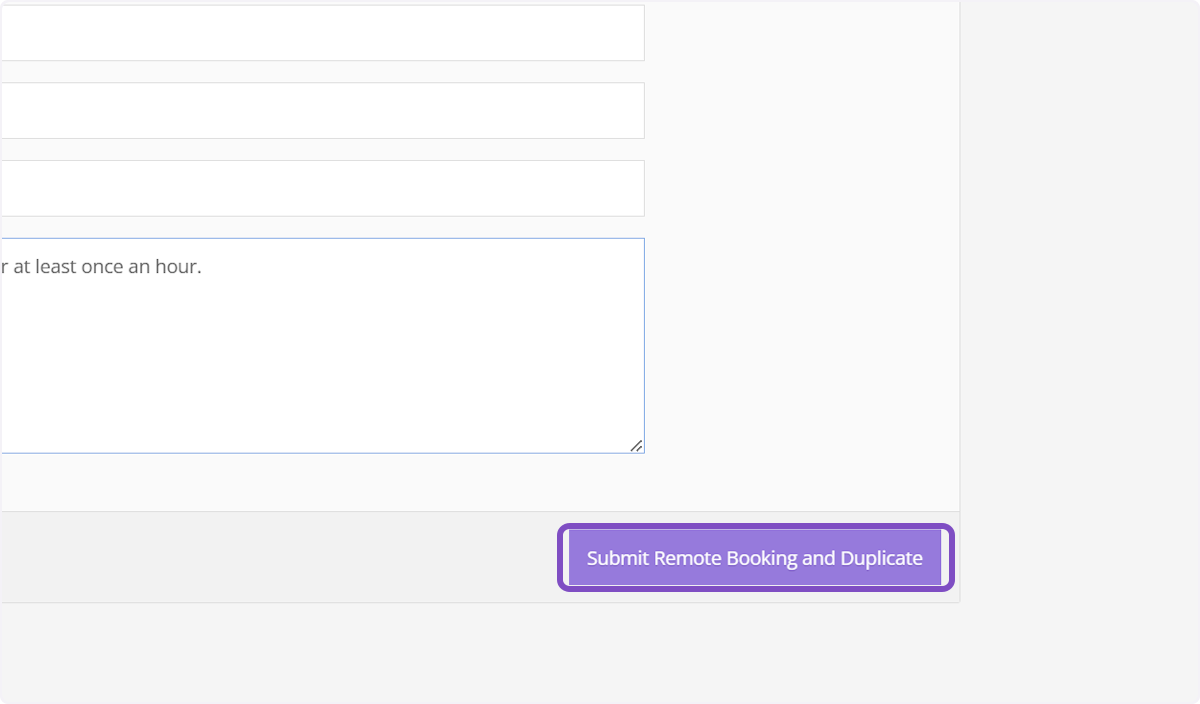
71. If you would like to request a second remote with a lot of the same information, click "Submit Remote Booking and Duplicate"
This will submit your current remote request form and will display an identical copy of the form with the same information pre-filled
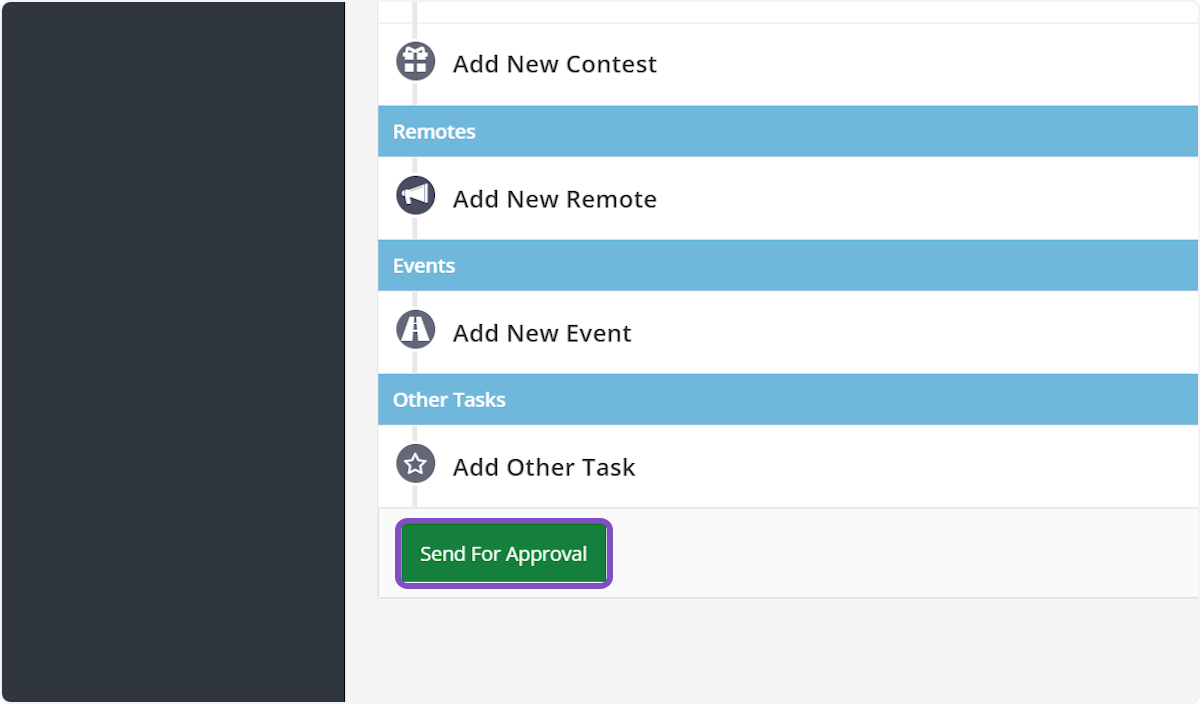
72. Once you've added all your elements to your campaign, click on the green "Send For Approval" button below the first station column.
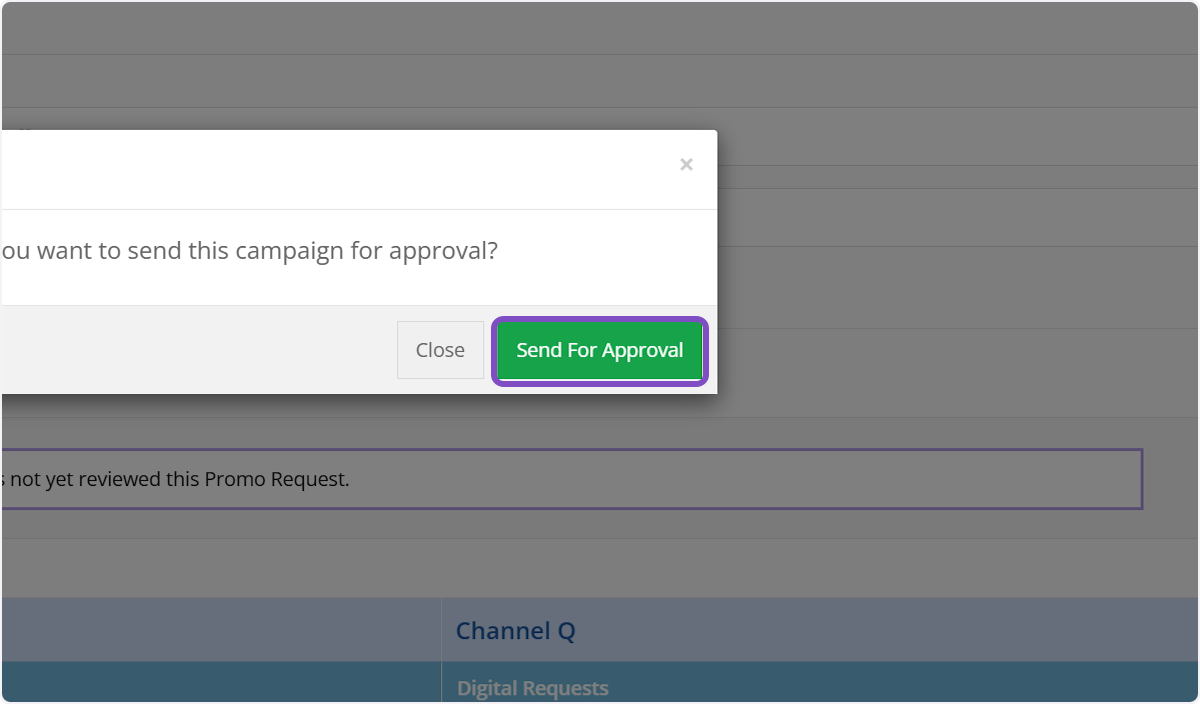
73. You'll be prompted to confirm you'd like to send this campaign for approval. Click "Send For Approval"
If you're not quite ready, click "Close" or the "X" on the pop-up
74. The approval status will be highlighted above your campaign elements
75. Once your campaign has been approved, you will notified via email and the status will change on your campaign